








Is Bathroom Moisture a Shower Leak? How to Tell the Difference
Learn how to tell bathroom moisture from a shower leak, identify condensation signs, and protect your Metro Vancouver bathroom. Read more.
A wet bathroom floor, fogged mirrors, peeling paint, or mold around caulking can make anyone worry about a shower leak. Sometimes that worry is justified. Water may be slipping past a shower door, escaping through a failed seal, or pooling at a threshold.
But plenty of bathroom moisture has nothing to do with a leaking shower enclosure.
In Metro Vancouver, the distinction matters. The region’s damp marine climate, rainy winters, cooler surfaces, and varied housing stock can make ordinary shower steam linger longer than people expect. Condensation can look dramatic, especially in older condos, basement suites, and bathrooms with weak or poorly maintained exhaust fans.
Before replacing glass shower doors, resealing an enclosure, or opening a wall, take a step back. Where the moisture appears, when it appears, and how it behaves will usually point you toward the real problem.
Start With the Basic Question: Is It Liquid Water or Humid Air?
A shower creates both. Water hits walls, doors, and floors directly, while heat turns part of that water into vapor. A typical shower may add roughly two to three liters of water vapor to the air. If that vapor is not removed quickly, it settles onto cooler surfaces as condensation.
That is why a bathroom can feel wet even when the shower enclosure itself is doing its job.
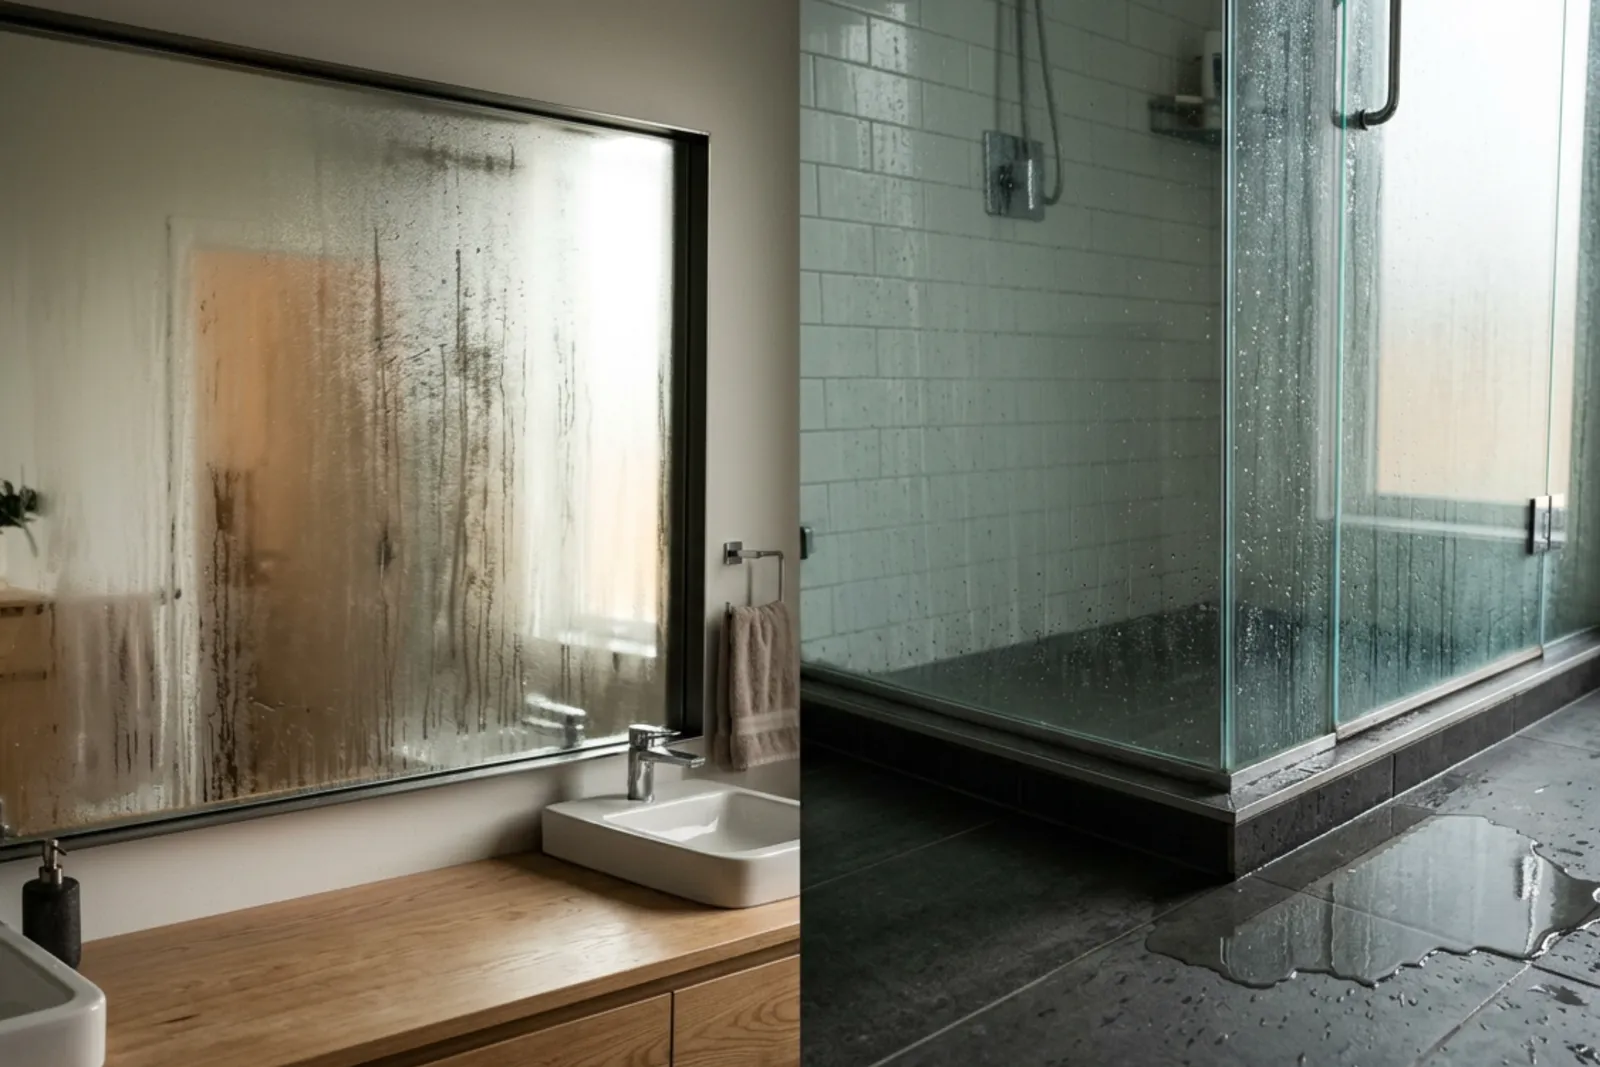
A true enclosure leak usually creates a concentrated pattern. You may see water directly outside the shower opening, at one corner of the threshold, beneath a specific glass panel, or along a door edge. The puddle often appears while the shower is running and follows the path of spray or the movement of the door.
Condensation behaves differently. It tends to spread. Mirrors fog up. Windows bead with water. Ceiling paint feels damp. Walls near exterior corners become clammy. In more serious cases, you may notice mold on grout, silicone caulking, or the ceiling above the shower.
The location of the moisture is your first and best clue.
Why Metro Vancouver Bathrooms Hold Onto Moisture
Metro Vancouver’s outdoor relative humidity commonly sits around 75% to 85%. During the wetter stretch of the year, generally October through April, monthly rainfall can reach about 150 to 200 millimeters.
That means outdoor air is often damp before it even enters your home. Opening a bathroom window may make the room feel cooler, but it does not reliably remove moisture. On a rainy day, you may be replacing warm shower steam with cold, humid outdoor air. That is not a great trade.
Mechanical ventilation does the real work. A properly vented exhaust fan pulls moist indoor air outside, where it cannot condense inside the bathroom or migrate into nearby rooms.
This issue shows up often in several local housing situations:
Older condos and townhomes may have smaller bathrooms, cold exterior walls, aging fans, or centralized ventilation systems that need maintenance.
Basement suites tend to have cooler surfaces and less natural drying, which makes condensation more likely.
Windowless bathrooms depend almost entirely on mechanical exhaust.
Bathrooms with exterior windows may still stay damp if the fan is weak or the window is opened during humid weather.
A humid bathroom is not automatically a construction defect. Still, it should not be ignored. Repeated moisture can damage paint, drywall, trim, flooring, and framing over time.
Signs Water Is Escaping the Shower Enclosure
When water is leaking from a shower enclosure, the evidence is usually fairly specific. The wet area is close to the shower and follows a repeatable pattern.
Look for these signs:
Water collects directly outside the door or opening.
A small puddle at the same part of the threshold after each shower is more likely to be enclosure-related than condensation.The puddle follows the shower spray.
If water appears when the showerhead is aimed toward a door gap, fixed-panel joint, or opening, that is a strong clue.The problem persists with the exhaust fan running.
Good ventilation can clear steam, but it cannot stop liquid water from splashing or draining through a failed seal.A seal, sweep, or joint looks worn.
Bottom sweeps can crack, stiffen, or pull away. Side seals may become compressed or brittle. Silicone at fixed panels can separate over time.The door does not sit or close correctly.
A sagging, dragging, or misaligned pivot door may leave a gap that was not there when it was installed. This can happen with both framed shower doors and frameless shower doors.Water is escaping at the threshold.
Shower thresholds need a path for water to return to the shower pan. If drainage is blocked, incorrectly sloped, or overwhelmed by spray, water can spill onto the bathroom floor.
A shower enclosure does not need to be visibly broken to leak. Small alignment changes, a loose hinge, damaged glass hardware, or a worn vinyl sweep can be enough.
A Simple Splash-Path Test
Dry the bathroom floor completely before showering. Place a dry towel just outside the shower opening, then shower as you normally would. Pay attention to where the towel becomes wet first.
If one small section gets soaked while the rest of the bathroom remains dry, inspect that area closely. Check door edges, threshold corners, panel joints, and any point where water may be directed outward.
Also look at showerhead placement. A showerhead aimed toward the door can force water through gaps that would otherwise handle normal splashing. This is especially common with pivot shower doors and swing shower doors that have a practical opening near the door edge.
Signs the Problem Is Condensation, Not a Leak
Condensation does not respect the boundaries of a shower enclosure. It forms wherever warm, humid air meets a cooler surface.
You are probably dealing with a ventilation or humidity issue if you notice moisture on:
mirrors and windows
broad sections of wall or ceiling
exterior corners
ceiling paint above the shower
grout and caulking away from the shower entry
surfaces in the hallway or bedroom near an open bathroom door
Another clue is timing. A localized leak appears during shower use. Condensation may remain for 15 minutes or longer after the shower ends, especially if the fan is off, weak, or venting improperly.
Musty odors are also telling. A little steam after a hot shower is normal. A bathroom that smells stale or musty on an ordinary dry day has likely been holding moisture for a while. Mold on ceiling paint, recurring black spots on silicone, and bubbling paint are not cosmetic annoyances. They mean materials have been staying wet often enough for damage to begin.
Condensation can also be seasonal. A bathroom may seem fine in summer, then develop fogged windows and damp walls in winter because the surfaces are colder. That does not rule out a shower enclosure issue, but it points toward humidity control as part of the answer.
How Long Should You Run the Bathroom Fan?
Many people switch on the fan when they remember, then turn it off when they leave the room. That is usually too short.
Turn the exhaust fan on before starting a shower or bath. This helps establish airflow toward the grille before steam fills the room. Keep it running throughout bathing, then leave it on for at least 20 minutes afterward. Thirty minutes is better in many Metro Vancouver homes.
If several people shower one after another, leave the fan on continuously and run it for at least 30 minutes after the last person is done. A bath needs the same post-use ventilation period. The water may not be spraying against walls, but it is still releasing moisture into the air.
For cooler basement bathrooms, 30 to 45 minutes of post-shower ventilation may be necessary. These rooms often dry slowly because below-grade surfaces remain cooler.
It can feel wasteful to run a fan for that long. In reality, the cost of operating a modern efficient fan is usually minor compared with repairing peeling paint, mold damage, or moisture-softened drywall.
Check Whether the Fan Is Actually Working
A fan that makes noise is not necessarily moving air.
Try the tissue test. With the fan running, hold a single square of tissue near the exhaust grille. The tissue should be drawn toward the grille and stay there with light support. If it falls away immediately or barely moves, airflow may be weak.
A weak fan can have several causes:
dust buildup on the grille or fan housing
an aging motor
a blocked or crushed duct
a duct run that is too long or poorly configured
a backdraft damper that is stuck
an exterior vent hood blocked by debris
a fan that exhausts into an attic, crawlspace, ceiling cavity, or wall rather than outdoors
That last one deserves attention. Exhausting warm bathroom air into another enclosed part of the building simply moves the moisture problem. It can lead to hidden mold or wood deterioration where you cannot see it.
If ductwork is not visible, a qualified ventilation professional may need to inspect it. In condos and strata buildings, the fan may connect to a central exhaust system. The local wall switch may appear normal even if the larger building system is underperforming.
Automatic Controls Make Better Ventilation Habits Easier
Bathroom ventilation depends heavily on routine. People forget. Kids turn the fan off early. Guests may not know which switch controls it. Automatic controls can remove some of that guesswork.
Humidity-Sensing Switches
A humidity-sensing switch, often called a humidistat switch, turns the fan on when humidity rises above a chosen setting. A common activation range is around 60% to 65% relative humidity. The fan shuts off after the room dries to an acceptable level.
These switches are useful in busy households and rental suites because they respond to actual moisture rather than relying on someone’s memory. Equipment commonly costs about $50 to $120 before installation.
One caveat: bathrooms near kitchens, laundry areas, or naturally humid spaces may need careful adjustment. A poorly set humidistat can run the fan more often than needed or fail to turn it on soon enough.
Timer Switches
A timer switch is simpler. You press a button for a preset run time, often 20, 40, or 60 minutes. It is a practical choice for people who want predictable operation without humidity settings.
Timer switches generally cost less than humidity controls, often about $30 to $60 before installation. They work well when household members build the habit of pressing the 30- or 40-minute setting before stepping into the shower.
Continuous-Ventilation Fans
Some newer fans run quietly at low speed all day, then increase airflow when humidity rises. A typical setup may provide 20 to 30 CFM during low-speed operation and boost to around 80 to 110 CFM during a shower.
For bathrooms that stay persistently damp, continuous ventilation can be a sensible long-term approach. Electricity costs are often modest, roughly $1 to $3 a month for low-speed operation, though actual costs depend on the fan and local electricity rates.
Still, this is not a plug-and-play decision in every home. Duct size, electrical wiring, outdoor termination, and building ventilation design all matter. In a strata property, changes to fans or controls may also require approval.
Electrical work for timer switches, humidistats, or fan upgrades should be done by a licensed electrician and meet British Columbia electrical requirements.
When Moisture Has Nothing to Do With Showering
Sometimes the shower is getting blamed because the bathroom is where the evidence shows up first. The actual source may be elsewhere.
Look beyond the shower enclosure if you notice staining or dampness:
when nobody has used the bathroom
after heavy rainfall
around windows or exterior walls
in ceilings below an upstairs bathroom
around plumbing fixtures outside the shower
in more than one room or neighboring unit
despite consistent fan use and no visible water escape path
A plumbing leak may drip slowly behind a wall or beneath flooring. A roof or window leak can travel before it becomes visible. In older buildings, cold exterior surfaces and insulation gaps can create recurring condensation that looks like a leak at first glance.
In condos and townhomes, similar moisture concerns in multiple units may point to a building-wide issue. Building management should be involved early if the problem may relate to central ventilation, exterior cladding, roofs, plumbing stacks, or shared walls.
A Practical Bathroom Moisture Checklist
Before deciding on a repair, spend a few days observing the pattern. This short process can save a lot of unnecessary work.
Dry the floor and shower threshold before bathing.
Turn the fan on before the shower starts.
Keep the bathroom door mostly closed while showering so steam moves toward the fan rather than into the home.
Leave the fan on for 20 to 30 minutes afterward.
Note where moisture appears first.
Check the fan with the tissue test.
Inspect visible door sweeps, seals, panel joints, threshold corners, and hinges.
Watch for damp walls, windows, ceilings, or mold beyond the shower boundary.
Record whether moisture appears after rain, overnight, or when the bathroom is unused.
Confirm that the exhaust duct terminates outdoors.
A small written note or a few photos taken after each shower can make the pattern much clearer. It is easy to rely on memory, but moisture problems are often subtle until you compare several days.
The Bottom Line
A puddle immediately beside glass shower doors usually points to a local issue: a worn seal, poor door alignment, a threshold drainage problem, or spray escaping through an opening. That calls for an inspection of the shower enclosure and its hardware.
Fogged mirrors, damp ceilings, musty odors, and moisture across several surfaces point in a different direction. Those signs usually mean the bathroom is not exhausting humid air fast enough.
And when dampness continues without shower use, worsens after rain, or spreads into walls and ceilings, treat it as a possible plumbing or building-envelope issue.
In Metro Vancouver, bathroom moisture control starts with good ventilation habits and a fan that actually exhausts outdoors. Once that basic step is covered, it becomes much easier to tell whether you need shower enclosure repairs, ventilation work, or a broader investigation.
Planning a glass project?
Send us a photo and the rough size. We will measure on site and give you a fixed written quote.
Get a Free Quote