
Custom Mirror Installation: A Practical Guide for Homes and Businesses
Plan a custom mirror installation for your home or business. Learn how sizing, placement, mounting, and safety affect the result, then plan your project with confidence.
A mirror that almost fits can make an otherwise finished room feel incomplete. It might leave an awkward strip above the backsplash, crowd a light fixture, or stop short of the wall where you need a full view. Custom mirrors solve these problems by matching the dimensions and layout of the space.
That flexibility is useful in bathrooms, entryways, home gyms, dance studios, and commercial interiors. But choosing the right mirror involves more than deciding how large it should be. Wall conditions, edge finishes, mounting methods, and access for installation all affect the result.
This guide explains what custom mirrors can do, which details deserve attention, and how to plan an installation that looks intentional and stays secure.
What Custom Mirrors Can Change About a Room
Mirrors reflect the room you already have. When placed thoughtfully, they can make a narrow space feel more open, bring reflected daylight into a dim area, and create longer sightlines.
The placement matters as much as the size. A mirror opposite a window may reflect a pleasant outdoor view. The same mirror positioned opposite an open storage area will double the visual clutter. Before choosing a wall, stand where people usually enter or sit and consider what they will see in the reflection.
Mirrors do not create light, but they can redistribute existing light. This is helpful in entryways and rooms with limited windows. Direct reflections of bright sunlight or exposed bulbs, however, may produce uncomfortable glare.
Custom sizing also gives you control over proportion. A mirror can match the width of a vanity, fill a recessed wall, or fit between cabinetry without the compromises of a stock size. Even a modest mirror often looks better when its dimensions relate clearly to the surrounding fixtures.
Bathroom and Vanity Mirrors: Start With the Whole Wall
Bathroom mirrors work best when planned alongside the vanity, backsplash, lighting, and nearby storage. Treating the mirror as a last-minute accessory can lead to cramped clearances or poorly placed reflections.
Single and Double Vanities
For a single sink, a mirror centered over the basin is a straightforward option. A wider mirror may make more sense if the countertop includes a separate grooming area or if several people use the room.
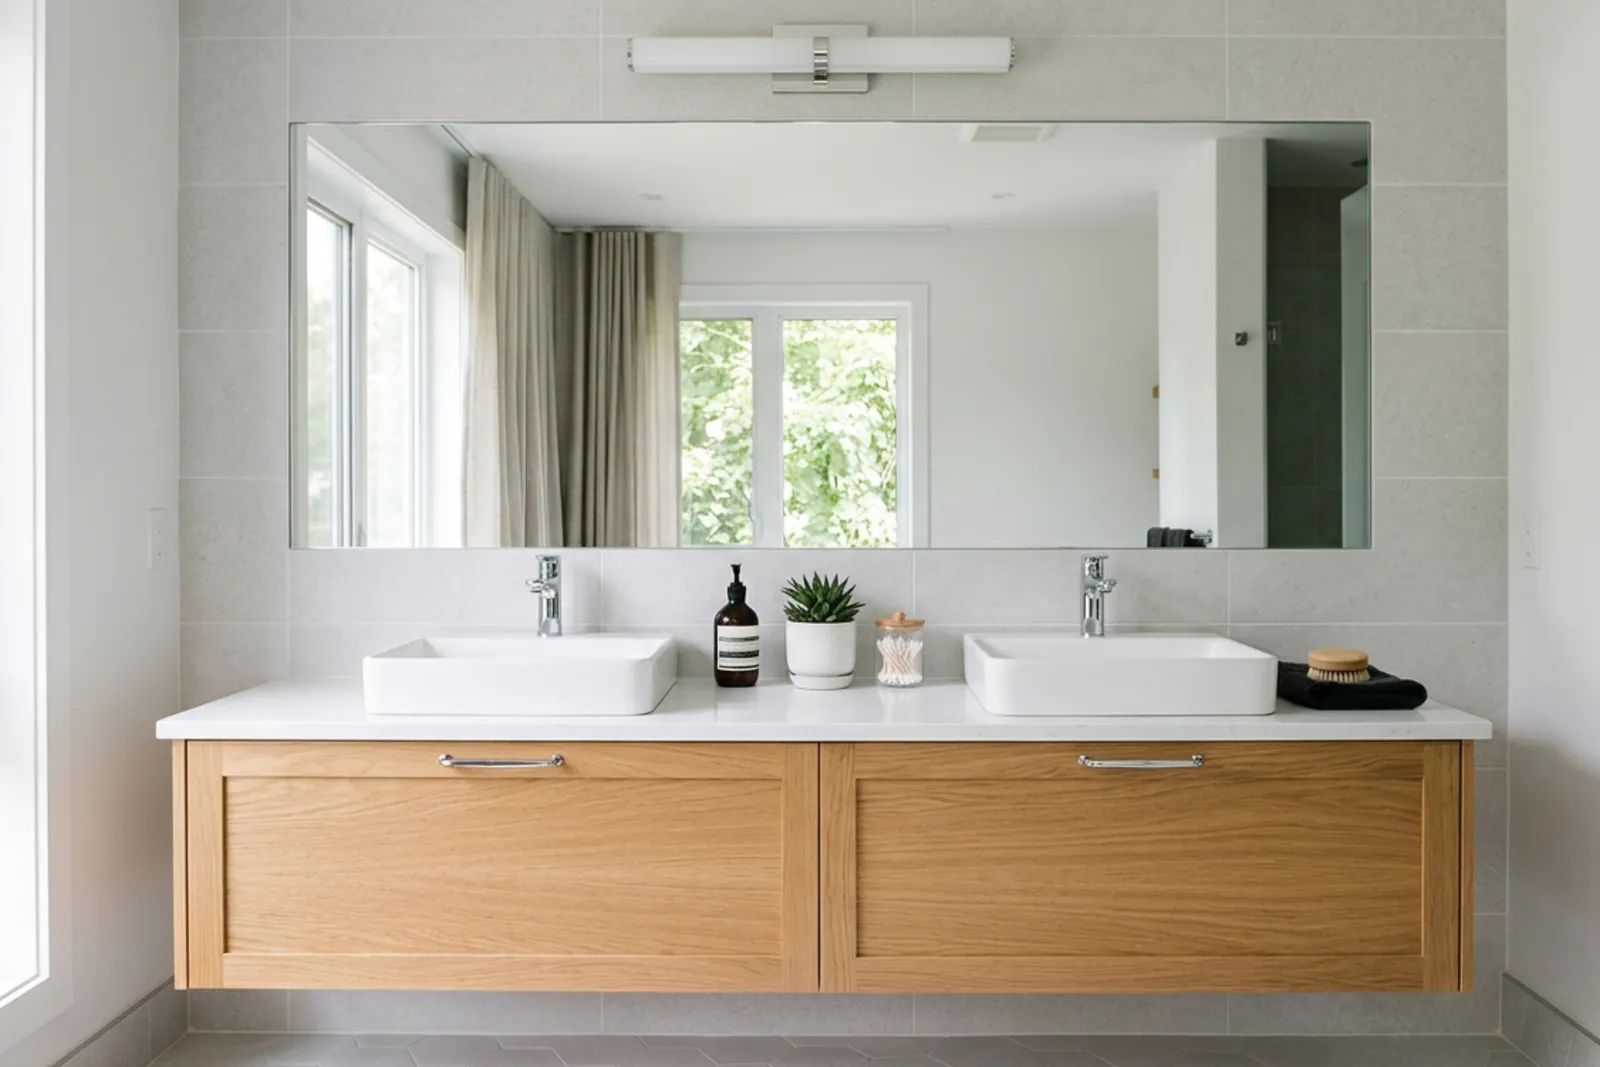
Double vanities create another decision: one continuous mirror or two individual mirrors.
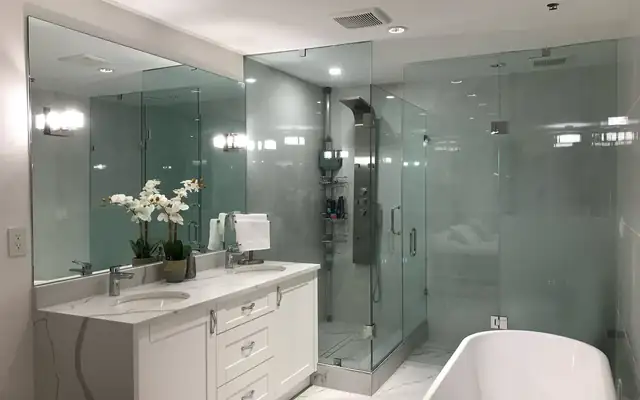
A continuous mirror provides a broad reflection and can make the wall feel less divided. Separate mirrors give each sink its own space and leave room for wall-mounted lighting between them. Neither arrangement is automatically better. The right choice depends on the vanity proportions, fixture locations, and how the bathroom is used.
Check the mirror height against the people who will use it. A visually balanced installation is less useful if a shorter household member cannot see comfortably or a taller person loses the top of their reflection.
Backsplashes, Lighting, and Corners
The mirror’s lower edge may sit above a backsplash or extend toward the countertop, depending on the design. Either approach needs suitable clearance and detailing to keep moisture from lingering against vulnerable edges.
Lighting deserves equal attention. A large mirror with a ceiling light above it can still leave shadows across the face. Side-mounted lights or a thoughtfully positioned vanity fixture may provide more useful illumination. If lighting mounts through the mirror, the fabricator needs exact opening locations before cutting begins.
Mirrors can also continue around a corner where the layout calls for it. Usually, this means separate panels fitted on adjoining walls. The corner joint and viewing angles need careful planning because intersecting reflections can feel busy in a small room.
Choosing Between Framed, Frameless, and Beveled Mirrors
The edge treatment changes both the appearance of a mirror and how it relates to nearby materials.
A polished edge has a smooth, finished surface. It is a common choice for frameless mirrors where the edge remains visible and a simple appearance suits the room.
A beveled edge has an angled border cut into the mirror face. That border catches light and creates a decorative effect without a separate frame. Bevel width should suit the mirror’s scale; a prominent bevel can look crowded on a small piece.
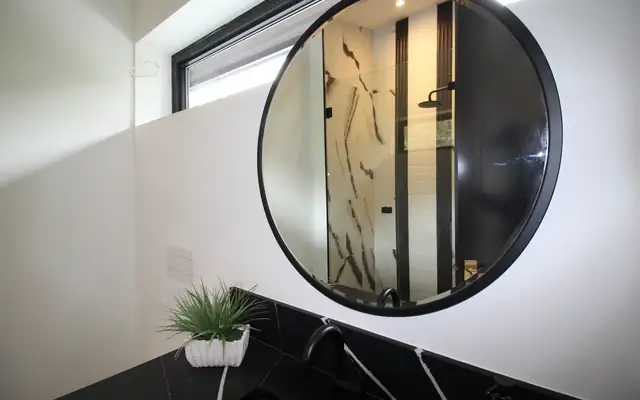
Framed mirrors introduce another material, such as wood or metal, into the design. They can connect the mirror visually to cabinet hardware, lighting, or furniture. In bathrooms, the frame and its finish should tolerate the expected moisture exposure.
Frameless does not mean unsupported. Clips or channels may remain visible, depending on the mounting system. If concealed attachment is a design priority, discuss it early rather than assuming every mirror can be installed without visible hardware.
Full-Wall Mirrors for Gyms, Studios, and Closets
Large mirror walls have a practical purpose in spaces where people need to see their movement or clothing clearly.
In a home gym, placement should reflect the exercise area without interfering with equipment. Consider the path of weights, moving machine parts, and doors. A mirror close to an impact zone needs a different safety assessment than one behind a dressing area.
Dance and fitness studios need broad, useful sightlines. Panel layout affects where seams appear in the reflection, while wall flatness and consistent installation affect visual continuity. A poorly aligned mirror wall can make movement harder to judge and become distracting during a class.
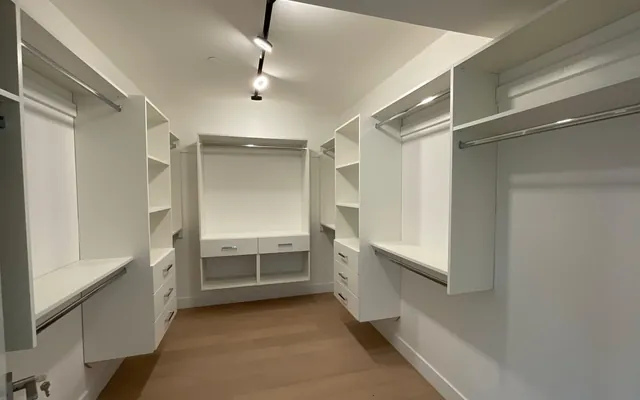
In walk-in closets, a full-length mirror should provide a useful view at a realistic standing distance. Measure the available floor space as well as the wall. A large mirror does little good if shelves or an island prevent someone from stepping back.
Commercial spaces may also need to account for accessibility requirements and applicable building rules. Mirror height, nearby circulation space, and potential impact risks should be reviewed for the specific use.
Why On-Site Measurement Matters
A wall can look square and still vary enough to affect a close-fitting mirror. Corners may be slightly out of plumb. A backsplash may rise unevenly. Opposite sides of a recess may measure differently.
On-site measurement helps identify these conditions before fabrication.
For a tight-fitting installation, the installer typically checks dimensions at several points rather than relying on a single width and height. The assessment should also locate outlets, switches, light fixtures, cabinet edges, and other obstacles.
Custom sizing does not mean forcing glass into a zero-clearance opening. Appropriate allowances help accommodate installation and prevent the edges from bearing against hard surrounding surfaces.
Openings and Cutouts Need Early Decisions
Outlet openings, fixture holes, and unusual shapes add complexity. Their size, position, and distance from the mirror’s edges affect fabrication and handling.
Finalize those details before the mirror is made. A late change to an electrical box or backsplash can turn a correctly fabricated mirror into one that no longer fits.
Electrical work should be handled by a qualified professional where required. Device boxes, covers, and any necessary extensions must be suitable for the completed wall assembly. A cutout in the mirror alone does not resolve those requirements.
Mounting Methods and Wall Conditions
A secure mirror installation depends on the whole assembly: the mirror, attachment system, wall finish, substrate, and supporting structure.
Common mounting methods include mirror-compatible adhesive, mechanical clips, and channels that support an edge. Some installations use a combination. The choice should follow the mirror and mounting-product manufacturers’ requirements and suit the site conditions.
Adhesive Must Be Compatible
Ordinary construction adhesive is not automatically appropriate for mirrors. An incompatible product can damage the reflective backing or fail to provide the intended attachment.
Even a suitable mirror adhesive depends on a sound surface. Loose paint, peeling wallpaper, moisture damage, or poorly bonded tile can compromise the installation. Adhesive cannot make an unstable wall finish reliable.
Curing time matters, too. Some systems need temporary support or restrictions on use while the adhesive sets. Those instructions should be part of the installation handover.
Clips, Channels, and Existing Finishes
Mechanical clips and channels can support or retain a mirror, depending on the system. Their anchors must suit the wall construction and expected load. Fasteners that work in one substrate may be inappropriate in another.
Mirrors can often be installed over tile or other existing finishes, but the surface needs assessment. Uneven tile may affect how the mirror sits, and drilling can require special care to avoid cracking tiles or damaging concealed services.
Large mirrors also demand attention to handling loads and edge protection. Thickness and panel size should be selected for the application, rather than chosen solely for appearance.
Safety Planning for Large Mirrors
Mirror glass can cause serious injury if it breaks or becomes detached. Safety planning is especially important in gyms, schools, busy commercial spaces, and areas where impact is plausible.
Safety backing may help retain fragments if a mirror breaks, but it does not make the mirror unbreakable. It also does not replace proper mounting or automatically satisfy every safety-glazing requirement. The appropriate mirror product and installation method depend on the location and applicable rules.
Panel size is another practical decision. One large sheet creates fewer seams, but it may be harder to transport, carry through the building, and replace later. Several panels may be more manageable, although their joints become part of the design.
Check the delivery route before fabrication. Narrow staircases, elevator dimensions, tight corners, and low doorways can limit the size of mirror that reaches the room safely.
What the Installation Process Usually Looks Like
Most custom mirror projects follow a similar sequence, although larger commercial work may require more coordination:
Discuss the location, intended use, approximate dimensions, appearance, and known site constraints.
Complete an on-site measurement after relevant finishes and fixtures are in their final positions.
Confirm the specifications, including edges, openings, panel layout, and mounting method.
Fabricate the mirror and arrange delivery and installation.
Install the mirror, check the finished work, and explain care or curing requirements.
Many straightforward residential installations can be completed in one scheduled visit once fabrication is finished. That does not mean the entire project is a same-day job.
Lead time depends on material availability, cutouts, edge processing, panel size, and installer scheduling. Ask for a project-specific estimate after measurement, and confirm what could change it.
For renovations, the most useful scheduling decision is often to measure after tile, cabinetry, and countertops are complete. Measuring too early can create avoidable rework if those dimensions shift.
Caring for a Custom Mirror
Routine care is simple, but the edges and backing need protection.
Use a soft, lint-free cloth and a cleaner approved for mirrors. Apply the cleaner to the cloth rather than spraying heavily onto the surface. This helps prevent liquid from collecting along the lower edge or seeping behind the glass.
Avoid abrasive pads and harsh chemicals that can damage the surface, frame, or protective backing. In bathrooms, use ventilation to reduce persistent condensation and wipe away standing moisture near the mirror.
If clips loosen, a panel shifts, or an edge becomes damaged, have the installation assessed. Do not remove supporting hardware or try to reposition a large bonded mirror yourself.
Plan for the Reflection You Actually Need
The best custom mirror is sized for both the wall and the people using it. Start with the task: checking an outfit, using a vanity, watching exercise form, or bringing reflected light into a room. Then consider what the mirror will reflect and how it will fit around the surrounding finishes.
Accurate measurement, suitable materials, and secure mounting turn that plan into a dependable installation. The finished result should feel natural in the space, with useful sightlines, deliberate proportions, and no awkward compromises around the edges.
Planning a glass project?
Send us a photo and the rough size. We will measure on site and give you a fixed written quote.
Get a Free Quote