


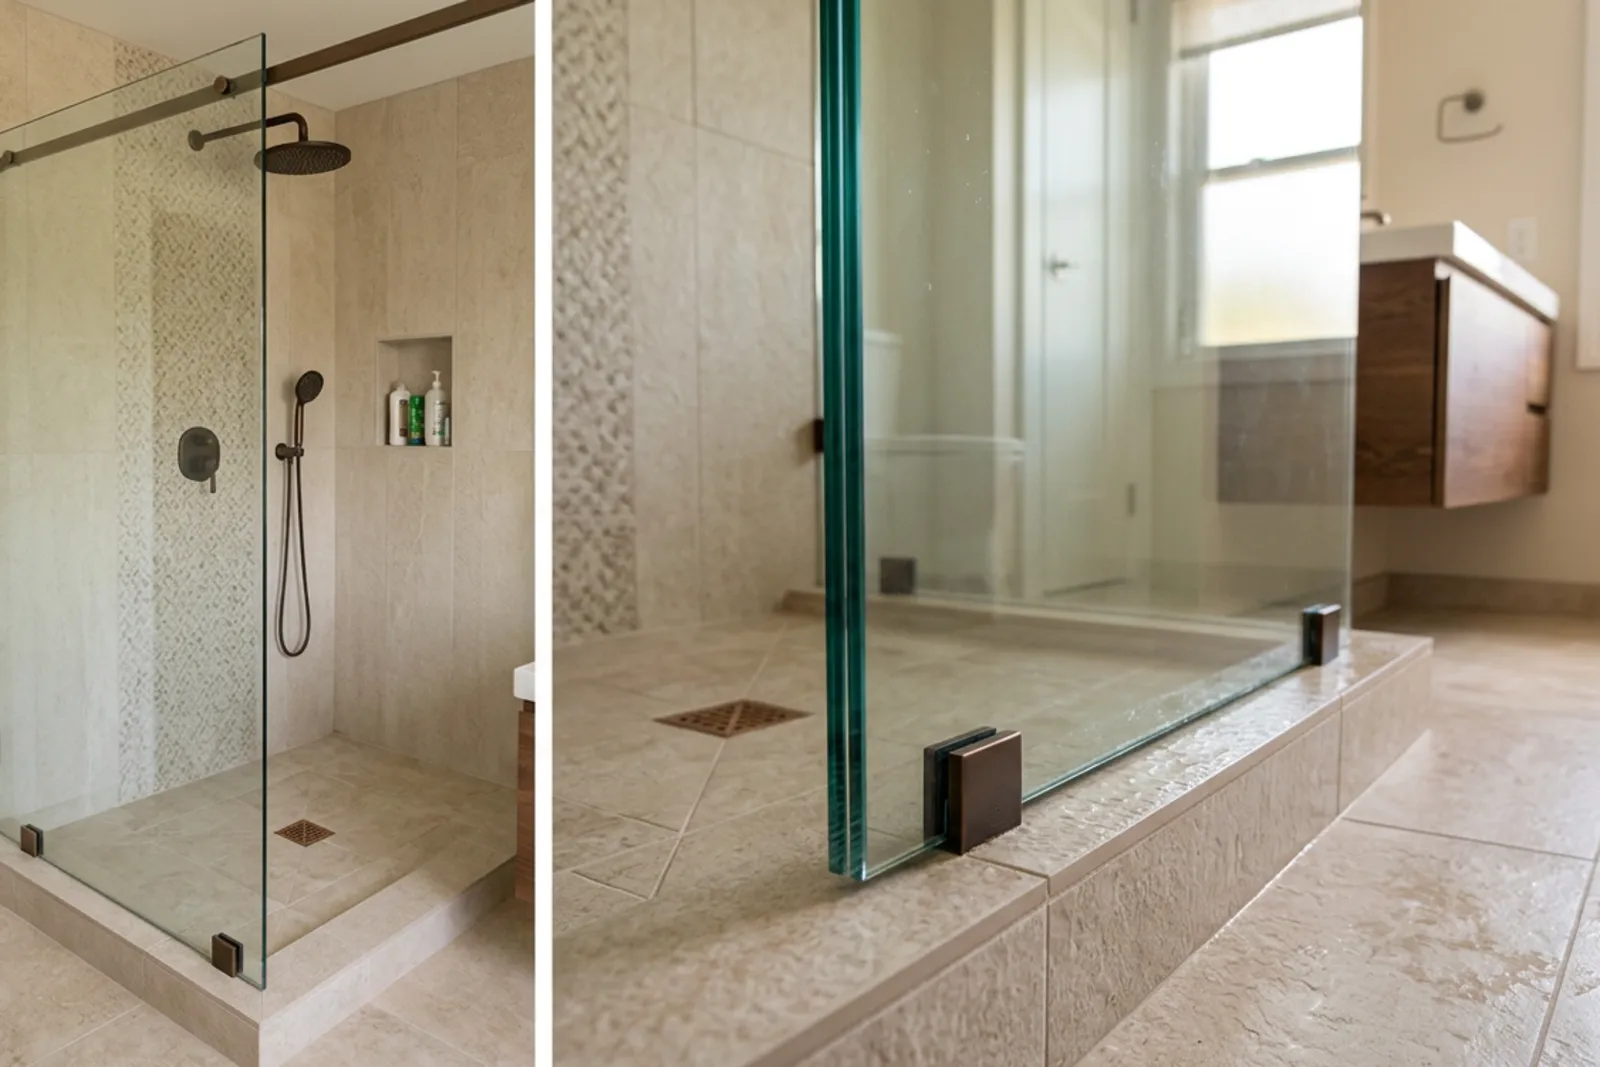
Pre-Install Checklist for Frameless Shower Glass in Vancouver and the Lower Mainland
Plan frameless shower doors with confidence using this pre-install checklist for Vancouver homes. Review key details before tiling—read now.
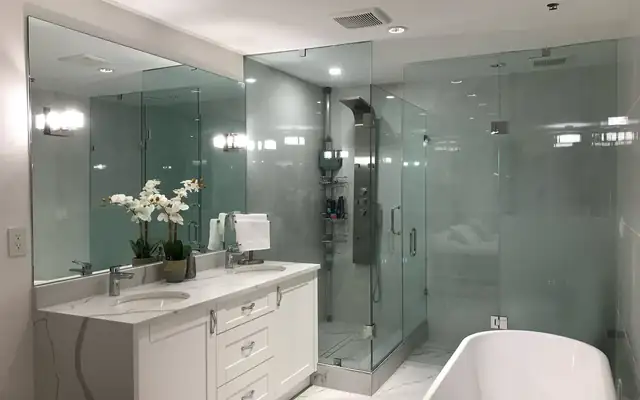
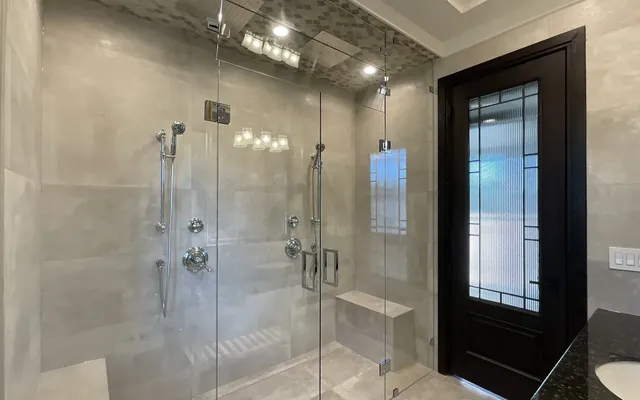
Frameless shower glass looks simple once it is installed. A clean panel, a precise door gap, minimal hardware, and clear sightlines across the tile. Getting there is less simple.
Unlike framed shower doors, which can hide small variations with channels and adjustable components, frameless shower doors rely on finished surfaces being very close to perfect. Tempered glass is ordered to exact measurements, then cut, polished, and heat-treated. Once it has been tempered, it cannot be trimmed on site.
That is why the best time to think about glass shower doors is before tile goes up, not when the bathroom is nearly complete. A short conversation with a glass installer during planning can prevent the frustrating problems that show up later: a door that hits a vanity, a curb that drains outward, hinges anchored only through tile, or a custom glass panel that no longer fits the finished opening.
This checklist is intended for homeowners, designers, renovators, and contractors planning shower enclosures in Vancouver, Burnaby, Coquitlam, Port Coquitlam, Maple Ridge, and elsewhere in Metro Vancouver.
Start With a Glass Consultation Before Tiling
Many bathroom renovations treat glass installation as one of the final details. It is a final trade, but it should not be a final decision.
Bring a glazier into the discussion while the shower layout is still flexible. At that point, they can review the planned opening, curb shape, door configuration, hinge wall, fixture locations, and the practical route for carrying glass into the room. This is especially worthwhile for custom glass layouts such as neo-angle showers, floor-to-ceiling steam room glass, and sliding glass shower doors.
A typical workflow has three parts:
The installer visits for measurement and discusses the enclosure style, glass thickness, and glass hardware.
The glass is custom fabricated after final measurements are confirmed.
The installer returns to fit, level, seal, and test the enclosure.
Fabrication often takes about a week, although timing changes with glass type, hardware availability, and the complexity of the enclosure. The installation itself may take only a few hours. The preparation behind it takes much longer, and that is where most costly mistakes occur.
Treat Finished Measurements as Final Measurements
Frameless shower glass is a millimetre-precision product. A wall that is slightly out of plumb, a curb that varies in width, or tile that projects farther than expected can affect the final glass cut.
Measurements should be taken after the relevant finishes are complete. That usually means wall tile, floor tile, grout, shower curb caps, tub surrounds, and any nearby vanity or cabinetry that affects door swing. Do not measure from bare framing, cement board, or a projected tile thickness unless the installer specifically asks for planning dimensions.
This matters because finished walls are rarely perfectly square. In an older Vancouver house, a wall can lean slightly. In a newer condo, a tiled corner may still have a small variation over its height. A good glass installer measures these conditions and accounts for them in the panel shape and hinge placement.
Tempered safety glass has no forgiveness after fabrication. A hole for a handle cannot move. A notch for a bench cannot widen. A fixed panel cannot be shaved down because a tile installer added an extra layer of mortar. It is worth waiting until the space is genuinely ready.
Finish Tile, Grout, and Wall Edges Carefully
Glass mounts, seals, and sits against finished surfaces. Tile work around the enclosure needs to be clean and consistent, particularly on the hinge wall, curb, and vertical edges where fixed panels meet the wall.
Check the following before final measuring:
Tile is fully installed and grout is complete.
Curb caps have a consistent finished width.
Vertical tile edges are straight where glass will meet them.
Corners and mitres match the intended shower layout.
Tile and grout have had appropriate curing time before installers place protective materials or seal joints.
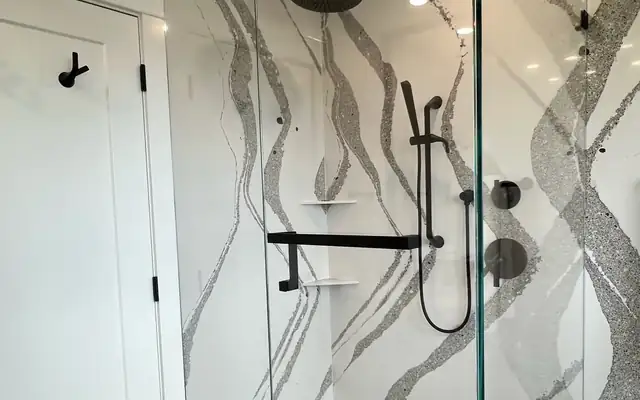
A decorative tile pattern can complicate this more than people expect. For example, a heavily textured stone tile may make it harder to achieve a clean seal than a smooth porcelain tile. Large-format tile often produces a tidy frameless look, but a large tile can also make an uneven wall more obvious. There is no universally “best” tile for a glass shower. The important point is to tell the installer what material is being used and where it will sit.
If the glass will meet a mosaic wall, irregular stone, or deeply grooved tile, ask how the seal will be handled. Silicone can bridge small surface texture, but it cannot turn a rough, uneven surface into a reliably watertight joint.
Build the Curb for Drainage, Not Just Appearance
The shower curb is one of the most important parts of a frameless enclosure. It supports fixed glass panels, receives seals, and helps keep water inside the shower.
The curb must slope toward the shower interior. That sounds obvious, yet outward-sloping curbs are a regular source of leaks. Water that lands on the curb should return to the shower floor, not run toward the bathroom floor or collect beneath a door sweep.
Before ordering glass, confirm:
The finished curb has a clear inward slope.
The curb height suits the intended threshold detail.
The finished surface is wide enough for the glass and planned seals.
There are no sharp lippage points or uneven tile transitions under the glass line.
A low-profile or nearly flush shower entry can look excellent, but it demands more planning. Water containment depends on floor slope, drain location, door gaps, bottom sweeps, and the amount of water the shower will receive. A large rain head pointed toward an open entry behaves very differently from a compact shower head facing a tiled wall.
If the design calls for a curbless shower, discuss it early with both the waterproofing contractor and glazier. The glass layout may need a fixed return panel, a deflector, or a revised door location to control splash. A beautiful open shower that leaves a wet bathroom floor after every use gets old quickly.
Confirm Waterproofing Before Glass Arrives
Glass installation is not a substitute for waterproofing. Silicone joints help manage water at glass edges, but the shower walls, curb, and floor must already be waterproofed as a complete assembly behind the tile.
The waterproof membrane should cover the shower area according to the selected waterproofing system and local building requirements. It must protect the curb as well as the walls. Penetrations for hinges or clips deserve particular attention because they pass through finished tile and into the wall assembly.
This is one reason blocking and waterproofing need to be coordinated. If a hinge location is known before the wall is closed, the installer and renovation team can plan the backing, fasteners, and sealant approach properly. Drilling through tile after the fact is normal for many glass installations. Drilling into an unknown wall cavity without suitable backing is not a good plan.
Do not rush this stage. Waterproofing failures are expensive because the visible glass is usually the easy part to remove. The tile, substrate, and damaged framing behind it are where the real work begins.
Add Solid Blocking Where Hardware Will Attach
Frameless shower glass is heavy. A typical tempered panel can weigh far more than homeowners expect, and the hinges carry repeated force every time the door opens or closes.
Solid blocking should be installed inside the wall where hinges, pivot hardware, fixed-panel clips, or sliding door tracks will attach. The exact locations depend on the enclosure design. A hinged door requires different preparation than a barn-style sliding system or a floor-to-ceiling steam enclosure.
Tell the framing contractor where the hardware will go, then document the blocking locations before drywall and tile cover the wall. Photos with a tape measure in the frame are surprisingly useful later. They help the glass installer locate structure and reduce guesswork.
For heavy pivot shower doors, the support arrangement may involve the wall, floor, ceiling, or a combination of these. For sliding glass shower doors, the track needs secure support along its full mounting area. Tile alone is a finish material. It is not structural backing.
Choose the Door Type Early
The enclosure style changes the prep work. Make the selection before fabrication, and preferably before tile layout is finalized.
Hinged and Pivot Shower Doors
Hinged or pivot shower doors need dependable anchor points and enough room to swing. Map the full opening path, including the handle. A door may clear the toilet but strike a towel bar, vanity pull, heated towel rack, or another bathroom door.
Also consider how the door will be used. An inward-swinging door can be convenient in a large shower, but it may reduce egress if someone falls inside. Many designs use outward swing or a combination of swing directions where space permits. Local code requirements and the room layout should guide the final choice.
Sliding Glass Shower Doors
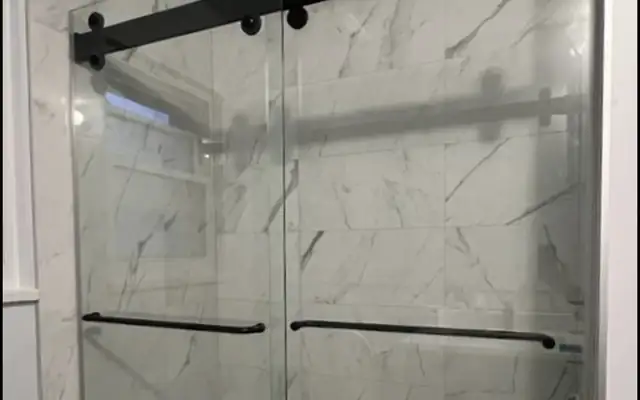
Sliding systems avoid a swing clearance issue, which makes them useful in compact bathrooms. They still need careful planning. The track requires secure support, adequate headroom, and a clear path for the moving panel. Look at nearby lighting, soffits, shower heads, and wall-mounted accessories before committing to the layout.
Neo-Angle and Corner Shower Enclosures
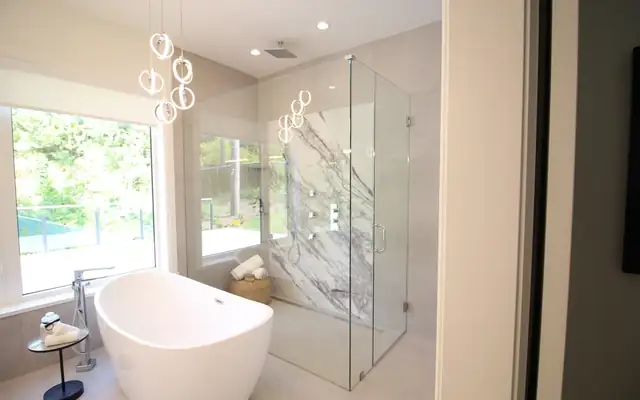
Neo-angle shower enclosures can make good use of a corner, but they are unforgiving of inaccurate tile work. Each panel angle and corner dimension affects the glass cut. Even a small layout change can alter the geometry.
Confirm the finished corner dimensions, tile edges, and curb lines before the final measure. Do not assume that the planned drawing matches what was built.
Tub Screens and Tub Enclosures
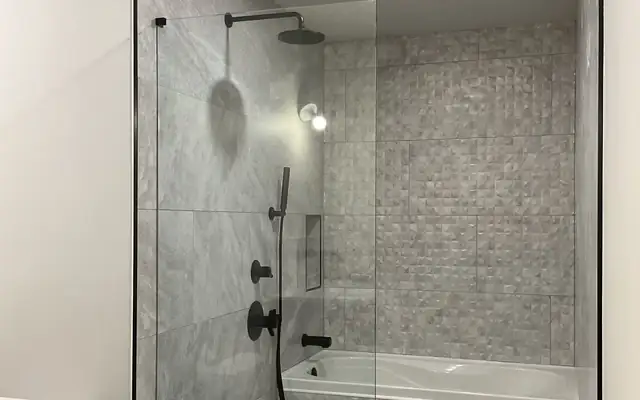
A fixed tub screen or swing panel needs a stable tub lip and a clean tile-to-tub transition. The installer will need to know the finished tub flange, the height of the tile, and whether the tub deck has any slope or irregularity.
Tub screens are often treated as straightforward projects. They are simpler than a full enclosure, but the same rule applies: measure the finished surface, not the rough opening.
Plan Seals and Threshold Details Honestly
Frameless does not mean seal-free. Most frameless shower doors use discreet clear vinyl sweeps, magnetic seals, bottom seals, and silicone joints. These components are part of what keeps water in the shower.
A wide open gap may look minimal in a showroom photo, but it may not suit a shower with high water pressure or a direct spray path. The right amount of sealing depends on the design, door position, shower head location, and curb detail.
Discuss whether the shower will have a full curb, a low threshold, or a flush entry. That decision affects glass dimensions and the sealing strategy. For a steam shower, it affects nearly everything.
Steam room glass should generally extend to the ceiling or include a designed transom system, with seals that limit steam loss. Hardware must be suitable for the humid, heated environment. Ventilation matters here too. A sealed steam enclosure without an effective exhaust plan can leave the whole bathroom wet for far too long.
Do Not Ignore Ventilation
Glass does not cause condensation, but it makes condensation impossible to ignore. Good bathroom ventilation clears humid air after showers, reduces moisture on mirrors and glass, and lowers the chance of mould growth on caulking and grout.
Confirm that the fan is sized and ducted appropriately for the room, particularly if the shower includes steam features. Check its location as well. A fan grille, access panel, or bulkhead should not conflict with a floor-to-ceiling panel, sliding track, or door swing.
Many homeowners focus on the enclosure and leave ventilation as an afterthought. I would reverse that priority. The shower glass is easier to maintain when the room dries properly.
Prepare Access and Coordinate the Trades
Large glass panels need a safe route from the delivery vehicle to the bathroom. Measure tight hallways, stair turns, elevator interiors, and narrow doors if the project includes oversized panels. Condo buildings may require elevator bookings, delivery windows, protective coverings, or proof of contractor insurance.
The bathroom should be clear on installation day. Remove personal items, protect nearby finished surfaces, and make sure electricians, plumbers, painters, and tilers are done. Sending another trade into the shower after glass installation creates a real risk of scratched hardware, damaged seals, or chipped tile.
Keep a decision-maker available during the appointment. Small questions do come up: handle orientation, exact sweep placement, silicone colour, or whether a minor clearance adjustment is preferable to the original plan.
Check Permit and Inspection Requirements
In Vancouver and other Lower Mainland municipalities, a shower glass enclosure by itself may not be the item that triggers a permit. The larger renovation may. Moving plumbing, altering walls, changing ventilation, adding electrical work, modifying structure, or building a steam shower can require permits and inspections.
Confirm requirements with the relevant municipality before construction starts. If inspections are required, schedule the work so walls, waterproofing, plumbing, and electrical elements can be reviewed at the right stage. It is much easier to show an inspector the required work before tile and custom glass cover it.
The Final Pre-Installation Check
Before the final measurement or installation appointment, walk through the bathroom with this practical test in mind: is every surface the glass touches finished, cured, accessible, and unlikely to change?
The tile and grout should be complete. The curb should drain inward. Waterproofing and blocking should already be in place. Hardware locations should be confirmed. Door swing should be clear of fixtures and cabinetry. The access route should be ready for large panels.
Frameless shower doors reward careful preparation. The finished result can feel almost effortless, which is exactly the point. But that clean look depends on decisions made weeks earlier, often before the first tile is installed.
Planning a glass project?
Send us a photo and the rough size. We will measure on site and give you a fixed written quote.
Get a Free Quote