

How a Frameless Glass Shower Can Open Up a Richmond Ensuite
Discover how frameless shower doors can make a small Richmond ensuite feel brighter and more open. Explore custom design options today.
A small ensuite can feel cramped long before it is actually short on floor space. Often, the problem is visual. Heavy shower frames, frosted panels, bulky doors, and interrupted sightlines divide the room into smaller sections. Add steam, wet towels, limited windows, and a few everyday toiletries, and the bathroom starts to feel closed in.
That was the central issue in this Richmond ensuite renovation. The goal was not to expand the footprint or move every fixture. It was to make the existing room feel lighter, easier to use, and less boxed in. A custom frameless shower enclosure became the main design change, but its success depended on far more than selecting clear glass.
A good shower enclosure has to fit the finished tile work, manage water properly, allow the door to operate safely, and account for walls and floors that are rarely perfectly straight. The final result can look simple. Getting there usually is not.
The Starting Point: Why a Shower Can Make an Ensuite Feel Smaller
Traditional framed shower doors have a practical place, especially in budget-focused renovations or standard-size shower openings. Yet their metal channels, visible tracks, and thicker borders create visual breaks. In a compact ensuite, those breaks matter.
Opaque shower walls create an even stronger barrier. They block light and make the shower feel like a separate compartment rather than part of the room. If the bathroom has only one window, or no window at all, that enclosure can make the whole space seem darker.
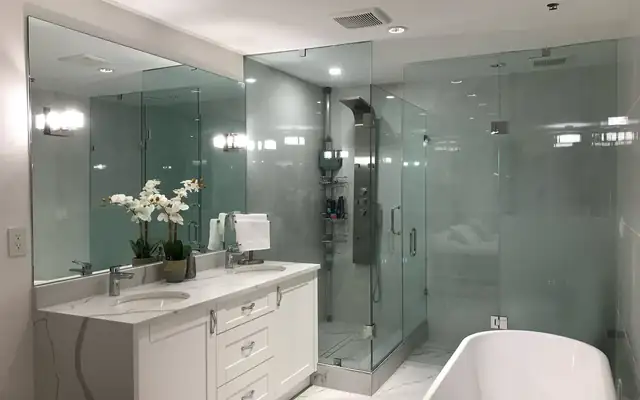
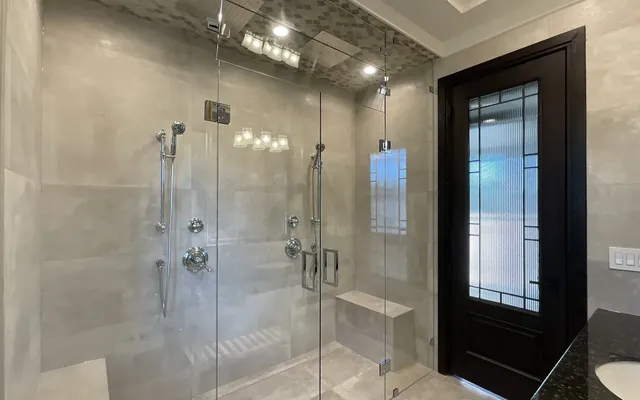
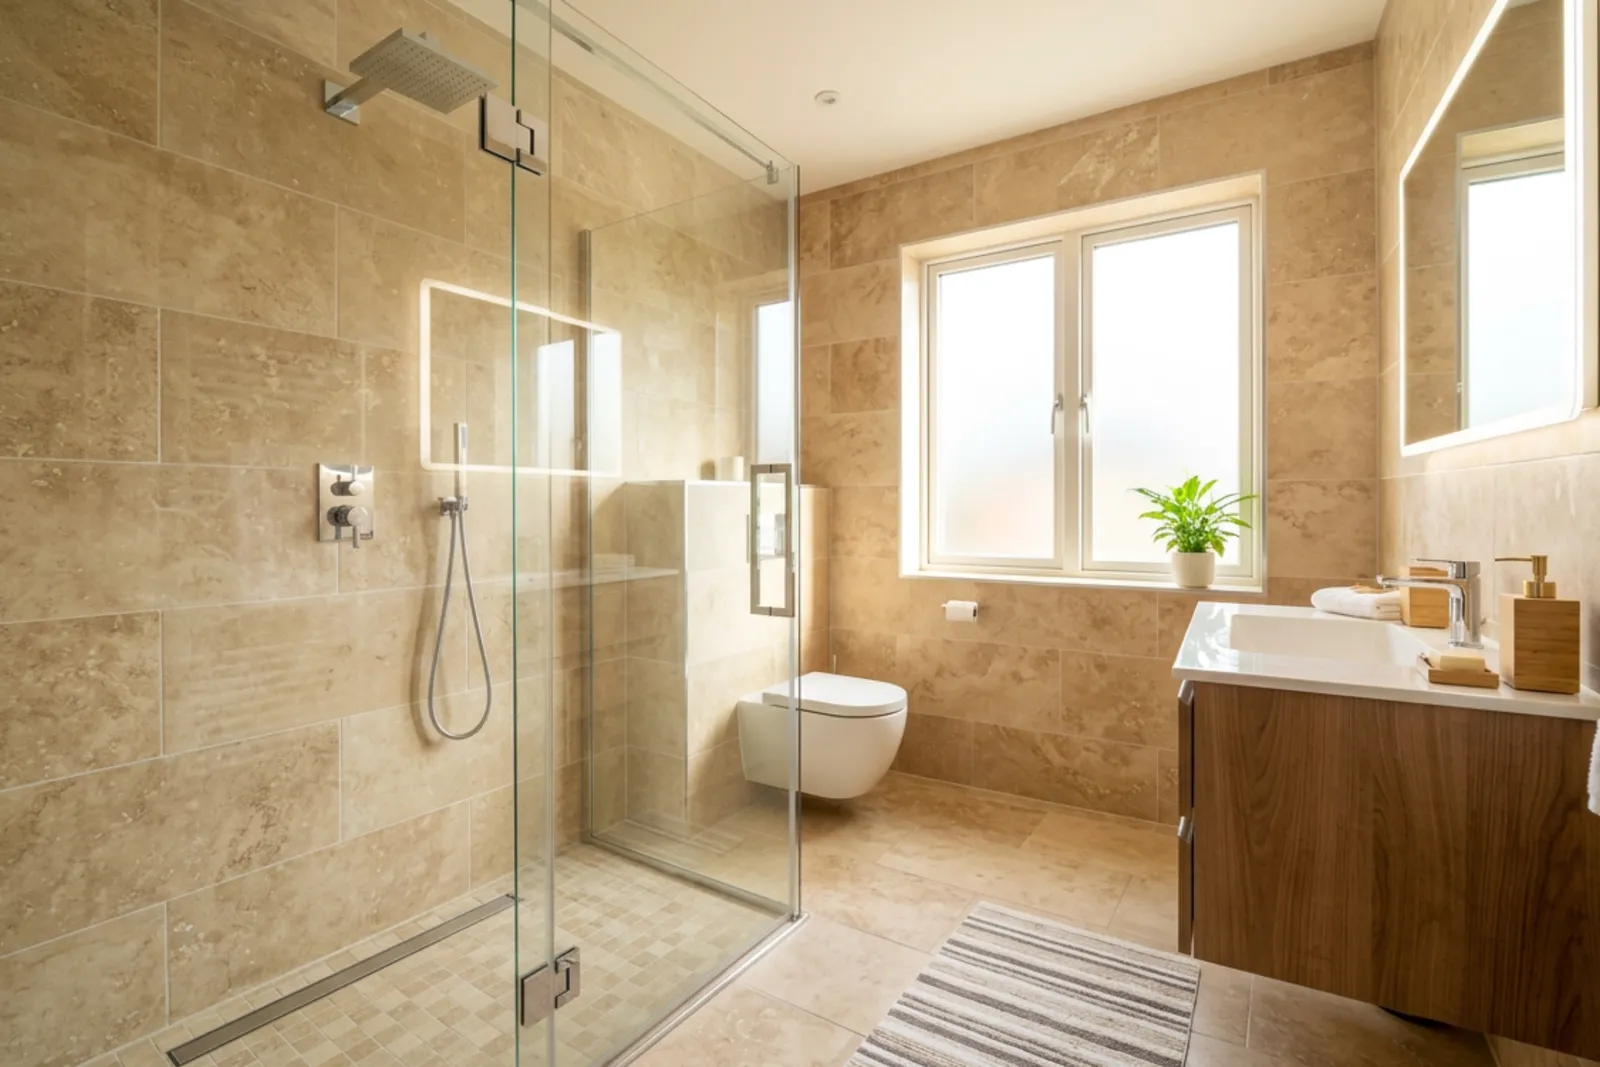
Clear frameless shower doors change the visual experience because the eye can travel through the shower area. Tile continues into view. Light moves across the room. The bathroom feels more connected.
This does not make the room physically larger, of course. It does make better use of the space that is already there. In smaller Richmond bathrooms, that difference is often immediately noticeable.
The Design Goal: Openness Without Creating a Splash Zone
There is a tendency to think that a frameless enclosure is simply a sheet of glass and a door. It is more accurate to think of it as a carefully fitted water-control system with a minimal visual profile.
The design for an ensuite needs to balance a few competing needs:
A comfortable opening for getting in and out of the shower
Enough door swing clearance around toilets, vanities, and walls
Glass placement that limits splash outside the shower
Hardware that suits the bathroom finishes
Seals and sweeps where the design needs them
Clearances that let the door open and close without rubbing
A shower door needs small operating gaps. Those gaps are normal and necessary. Frameless shower doors are not sealed like a bathtub with a fixed wall surround. Water control comes from good layout decisions, correct door alignment, bottom sweeps, panel overlap where appropriate, and thoughtful showerhead placement.
That practical side is easy to overlook when looking at finished bathroom photos. The clean, nearly invisible appearance is appealing, but the details behind it deserve attention.
Choosing a Frameless Enclosure Layout
The right shower enclosure configuration depends on the finished bathroom, not just the rough construction plan. This is why final design decisions should happen after the shower footprint, tile, fixtures, and entry area are clear.
A few common configurations work well in ensuite renovations.
Hinged Door With Fixed Glass Panels
This layout often works for a shower that sits between tiled walls or has an open side. One or more fixed panels create the enclosure boundary, while a hinged door provides access.
It is a flexible option when the shower opening is wider than a practical single-door panel. Fixed glass can also help direct water away from the bathroom floor while preserving the open look.
Corner Shower Enclosure
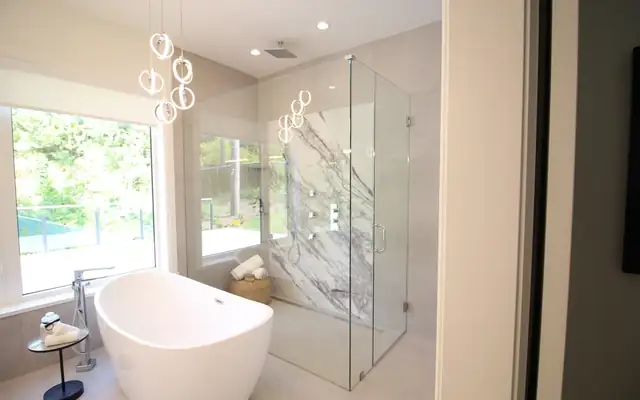
A corner enclosure uses two tiled walls as part of the shower boundary, with glass installed across the open sides. Depending on the dimensions, it may use a door and a fixed panel, or multiple panels joined with minimal hardware.
This is common in ensuites because it uses the corner efficiently. Still, the door swing has to be checked carefully. A door that opens into a vanity, toilet, or towel bar becomes annoying very quickly.
Fixed Panel and Door Combination
A fixed panel paired with a door can be a good choice for a shower where water needs more containment than a simple walk-in panel allows. The fixed section shields the area closest to the showerhead, while the door creates a more complete enclosure.
For very large showers, a fixed panel alone may be enough. For a smaller shower, it may leave too much open space for water to escape. There is no universal best layout. The showerhead position, drain location, room size, and daily use all matter.
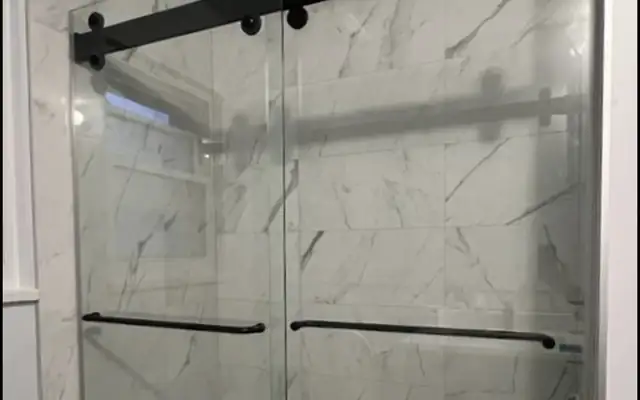
Sliding glass shower doors may be considered when there is no room for a swinging door. They solve a real clearance problem, though they use more visible hardware than many frameless hinged systems. Pivot shower doors and swing shower doors tend to suit homeowners who want a cleaner, more open appearance and have enough clearance for the door path.
Glass Thickness and Hardware Choices
Custom shower enclosures commonly use fully tempered safety glass in either 10-millimeter or 12-millimeter thicknesses. Both are substantial materials intended for wet, high-use environments. The best choice depends on panel size, configuration, hardware requirements, and the overall design.
Tempered glass is made through a heat-treatment process that increases its strength. If it breaks, it is designed to fragment into small pieces rather than large sharp shards. That is a major safety benefit. But tempered glass has one hard rule: once it has been tempered, it cannot be cut, drilled, or resized.
That fact explains why final measurements matter so much. A glass installation crew cannot simply shave a few millimeters off a panel because a tiled wall turned out to be slightly out of square.
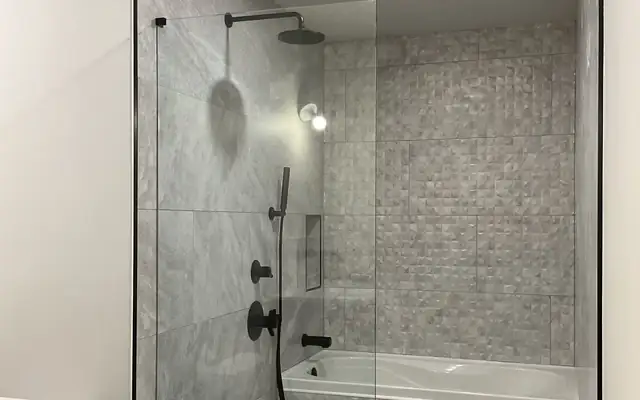
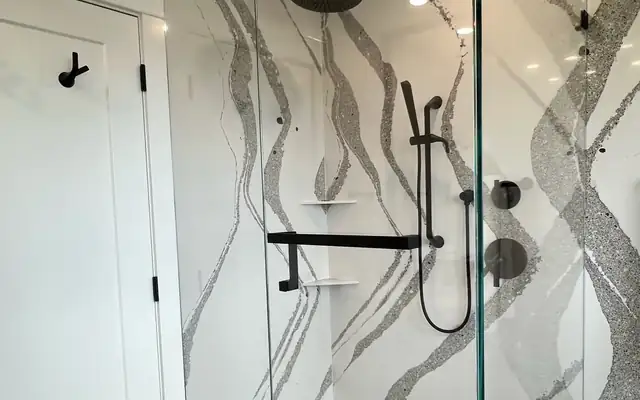
Hardware also has a larger visual role than many people expect. Hinges, handles, clamps, and channels may be small, but they are close to eye level and used every day. Common finish options include matte black, brushed nickel, polished chrome, and brushed gold.
The easiest approach is usually to relate the glass hardware to the bathroom’s existing metal finishes. Chrome hardware can work well with polished chrome faucets. Matte black may complement black lighting or cabinet pulls. Matching every finish exactly is not mandatory, but random combinations can make a carefully renovated bathroom feel less settled.
Leak Control Begins Before the Glass Is Measured
A frameless shower enclosure can reduce visual clutter, but it cannot correct construction issues behind the tile. The shower’s waterproofing membrane, tile installation, grout, caulking, drainage, and ventilation all need to do their own jobs.
This is where some renovation expectations need a little adjustment. Frameless glass is often described as “leak-proof,” but that phrase is too absolute. Any operable shower door has clearances. Water can escape if the shower is poorly designed, the floor does not drain correctly, a seal is missing, or the showerhead sends a hard stream directly at a door gap.
Good water management starts with the shower base. The floor should slope toward the drain so water does not collect near the entry. Tile should be complete and securely installed. Walls need to be properly waterproofed behind the surface. The showerhead should be positioned so normal use does not spray directly toward the opening or door seam.
The enclosure itself adds another layer of control. A well-planned installation may include:
A bottom sweep on the door where needed
Vertical seals between a door and fixed panel
Correct door swing direction
Panel positioning that guides splash inward
Securely mounted hinges and clamps
Clear, consistent gaps that allow safe operation
Silicone and seals help, but they should not be asked to solve a bad layout. If the floor pitches away from the drain or the showerhead faces an unprotected opening, the problem is larger than the glass.
Why Final Measurement Must Wait for Tile Completion
The measurement stage is where a custom glass project becomes real. It should take place only after tile work is fully completed, grouting is finished, and the shower opening is in its final state.
Measuring before tile installation is tempting because it appears to save time. In practice, it can create expensive errors. Tile thickness, grout joints, edging profiles, waterproofing build-up, and finish changes all affect the final opening size.
Even a carefully built shower rarely has perfectly plumb walls and perfectly level floors. A laser measurement helps capture those conditions accurately. The installer may find that one wall leans slightly, a corner is not exactly 90 degrees, or the opening is wider at the top than the bottom. These are normal construction realities, especially in renovated homes.
Custom glass is fabricated to account for them.
During the final site measure, the important decisions should already be mostly settled:
Glass thickness and type
Door hinge side and swing direction
Handle placement
Fixed-panel locations
Hardware finish
Showerhead location
Required seals or sweeps
Any special conditions, such as an out-of-plumb wall
This stage is worth treating seriously. A rushed measurement can lead to panels that do not fit correctly, delays while replacement glass is made, or compromises that should never have been necessary.
Fabrication and Installation: What Happens After Measuring
After the final measurement is confirmed, the glass is ordered and fabricated. Panel dimensions, hinge cutouts, handle holes, notches, and hardware locations are all determined before the glass is tempered.
For a standard custom shower enclosure, a realistic turnaround from final measurement to installation is often about 7 to 10 business days. More complicated shower enclosures may take longer, particularly if they involve unusually shaped panels, special glass, nonstandard hardware, or multiple angled walls.
Installation is not just a matter of putting glass in place. The crew positions fixed panels, secures hardware into suitable backing or wall conditions, installs the door, sets the door alignment, fits seals and sweeps, and tests the movement.
Before the work is considered complete, the enclosure should be checked for smooth operation and stable placement. The door should not scrape tile, drift open or closed unexpectedly, or contact nearby fixtures. Hardware should feel secure. Gaps should be even and intentional. The shower should have practical splash control based on the final layout.
Easier Cleaning, With a Small Reality Check
One of the practical benefits of frameless shower doors is that they have fewer metal tracks and channels than framed shower doors. Those tracks can collect soap residue, hair, moisture, and mineral buildup. A simpler glass-and-hardware arrangement usually makes everyday cleaning less fussy.
Still, clear glass shows water spots. There is no escaping that. In areas with mineral-heavy water, spots can become noticeable if they are left to dry repeatedly.
The most useful habit is also the least glamorous: use a squeegee after showering. It takes less than a minute and can reduce mineral deposits dramatically. Wiping down the edges, hinges, and bottom sweep occasionally also helps prevent buildup.
Ventilation matters just as much. Run the bathroom fan during the shower and for a while afterward. Open a window when weather and privacy allow. Humidity that lingers on walls, ceilings, grout, and glass does not disappear because the enclosure is frameless.
A quality installation supports a healthier wet area, but it does not replace routine care.
Budgeting for a Custom Glass Shower
A standard custom frameless shower enclosure often falls in an installed range of roughly $1,500 to $3,500. That broad range exists for good reason. One simple door-and-panel arrangement is very different from a large corner enclosure with thick glass, premium hardware, and challenging wall conditions.
Pricing is influenced by the total glass area, number of panels, door style, glass thickness, hardware finish, cutouts, site access, and the condition of the tiled opening. A shower with walls that are significantly out of plumb may need more detailed fabrication and installation work. Irregular shapes and specialty glass can also increase the cost.
The best estimate comes after the layout and finished opening are measured. Early budget figures are useful for planning, but they should be treated as preliminary until the actual site conditions are known.
The Finished Ensuite: A Better Sense of Space
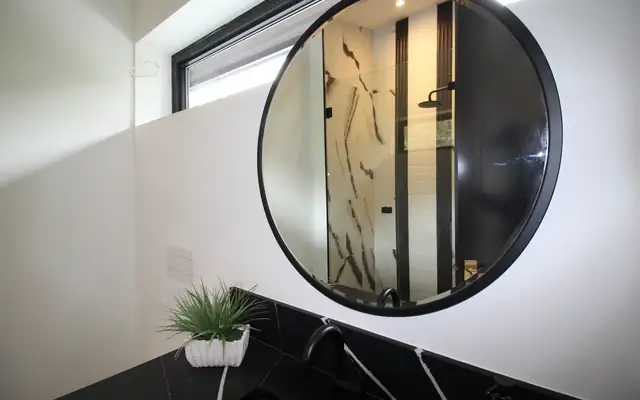
In the completed Richmond ensuite, the clearest change is visual. Clear custom glass lets the tile, light, and lines of the room remain visible. The shower no longer reads as a heavy box inside the bathroom.
That open effect is especially valuable in an ensuite, where space is often limited and the room needs to work hard every day. Less visible framing can make cleaning easier, while carefully chosen hardware gives the enclosure a finished, intentional look.
The real lesson is that good frameless glass installation depends on coordination. Waterproofing must be complete. Tile needs to be finished. Drainage must work. The door needs room to swing. Measurements have to happen at the right time. When those pieces come together, a frameless shower can make an existing bathroom feel clearer, calmer, and much less confined.
Planning a glass project?
Send us a photo and the rough size. We will measure on site and give you a fixed written quote.
Get a Free Quote