

How to Take Rough Shower Measurements Before You Ask for a Quote
Learn how to take rough shower measurements for glass shower doors and enclosures before requesting a quote. Get started with confidence today.
Getting rough measurements for a shower sounds simple until you realize how many little things can throw off a price or a design. A wall leans a bit. The curb is narrower than it looked. The opening is not the same width at the top and bottom. That is normal. Bathrooms are full of these small surprises.
The good news is that you do not need perfect fabrication measurements to ask for a quote on custom glass, glass shower doors, or full shower enclosures. You do need organized rough measurements that show the shape of the opening, the likely door location, and any conditions that could affect glass installation.
This guide is for homeowners, renovators, contractors, and designers who want a useful starting point before final templating. It applies to common setups such as a door and panel layout, pivot shower doors, swing shower doors, sliding glass shower doors, 90 degree corner units, and neo angle enclosures. If you are planning frameless shower doors, the details matter even more.
Rough measurements are for quoting, not fabrication
Let’s clear up the biggest misunderstanding first. Rough measurements help narrow down price, hardware options, and design direction. They are not the last word.
For framed shower doors, there is usually a bit more tolerance. For frameless shower doors, there is less room for guesswork. Even a wall that is out of plumb by a quarter inch can change hinge choices, panel sizing, or how much adjustment is possible. That is why final templating before fabrication is standard for many custom glass projects.
Still, a solid rough measure gets you much closer to a realistic quote. It also saves back and forth later.
What to have with you before you start
You do not need a truck full of tools. A few basics are enough:
A 25 foot tape measure
A 4 foot level, or at least a long straightedge
A carpenter’s square
A pencil and paper, or your phone for notes
Masking tape for marking centerlines and reference points
Your phone camera for photos
Before measuring, remove towels, bath mats, bottles, shower curtains, and anything else in the way. Dry the curb and wall surfaces. Wet tile can make your tape slip, and wet stone can hide edges.
Take a few photos before you touch anything. Get a straight-on view of the opening, both side walls, the curb, and any nearby plumbing or obstructions. Those photos help later when measurements start looking like random numbers.
Three terms you need to understand first
A lot of quoting problems happen because people measure the opening but miss the reference points. These three ideas are the ones I would not skip.
Centerline
The centerline is the exact midpoint across a span. For many shower enclosures, especially a door and panel layout, a 90 degree corner, or a neo angle enclosure, the centerline helps locate the door correctly.
If the centerline is off, the door may end up too close to one wall, too tight to swing, or visually awkward. It can also affect whether a hinge should mount to a wall or to a fixed panel.
Curb depth, sometimes called the throat
This is the horizontal distance from the outside finished face of the curb to the inside face where the glass actually sits. People often measure the top of the curb casually and move on. That is a mistake.
Curb depth affects whether there is enough room for base-mounted glass, bottom sweeps, tracks, or certain glass hardware. A narrow curb can limit your options fast.
Out-of-plumb walls
A wall is out of plumb when it is not perfectly vertical. It may lean inward, lean outward, or bow in the middle. Tile installers know this. Glass people definitely know this. Homeowners usually discover it late.
For frameless shower doors and fixed panels, out-of-plumb conditions matter a lot. They affect reveals, gaps, hinge alignment, and whether extra adjustment is needed during installation.
Start with the overall opening
This is the foundation of everything else.
Measure width in three places
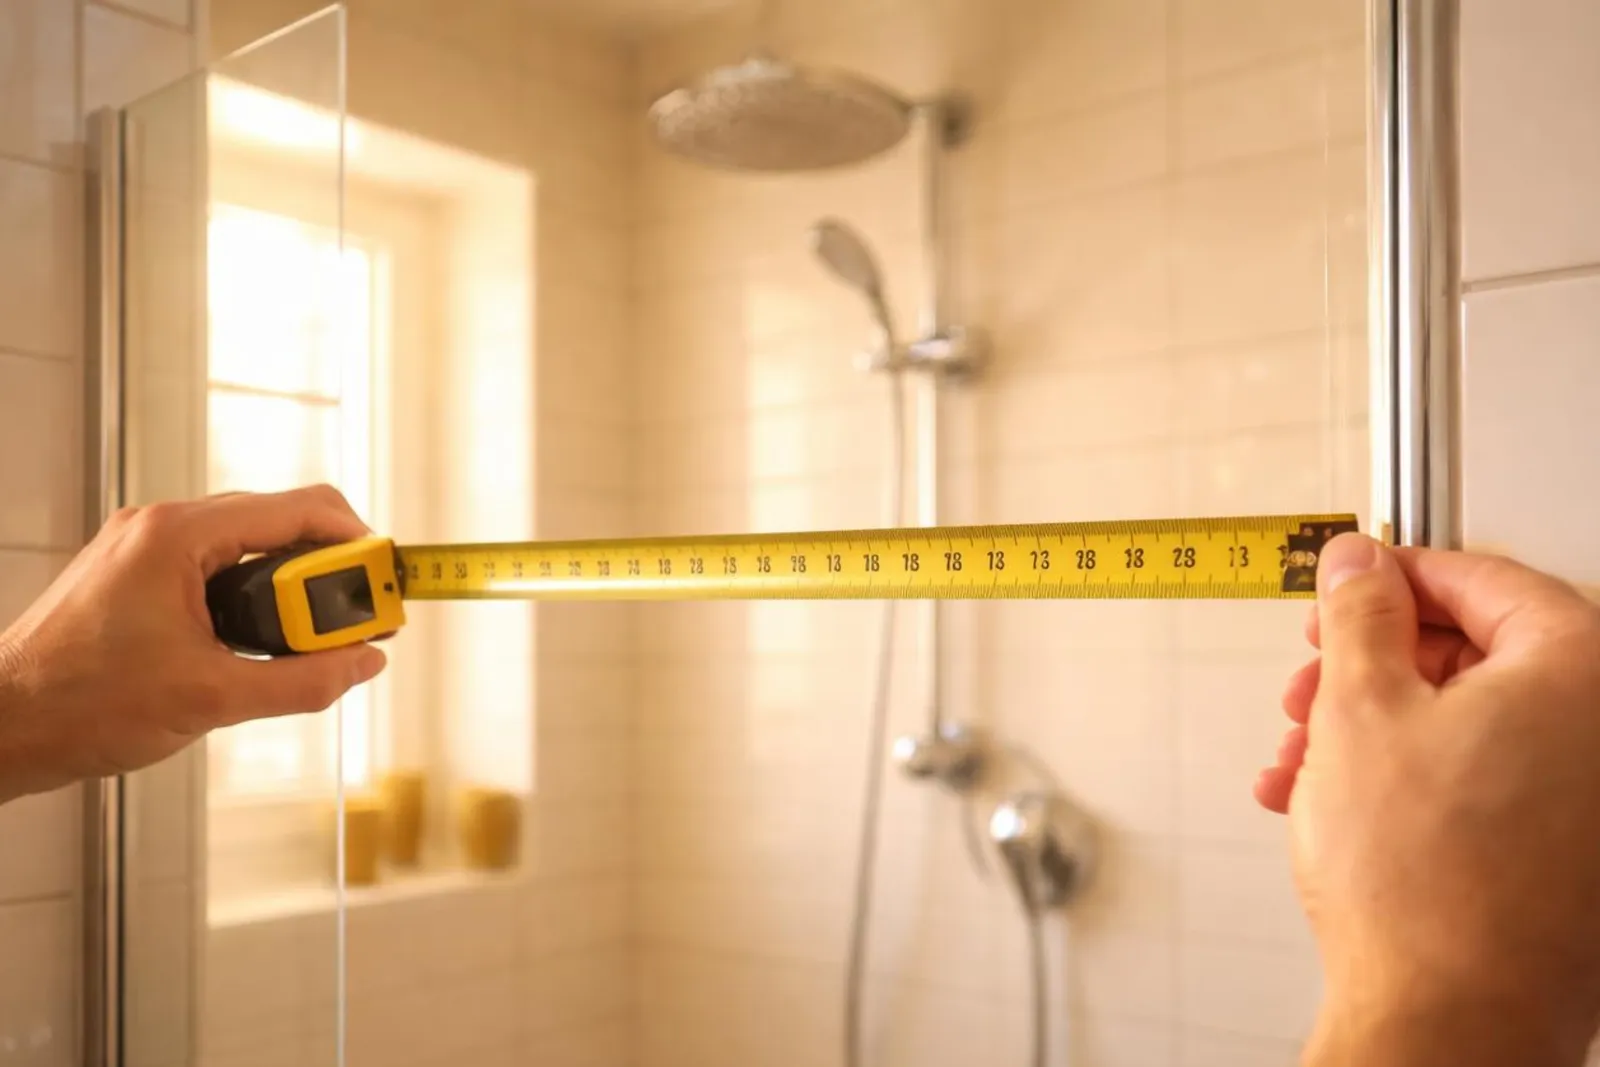
Measure the finished width of the opening at the top, middle, and bottom. Go from finished surface to finished surface, not stud to stud and not drywall to tile edge unless that is the true finished mounting point.
Write the measurements exactly as you get them. If the opening is:
Top: 36 1/8 inches
Middle: 36 inches
Bottom: 35 7/8 inches
record all three. Do not average them. The differences tell you what the walls are doing.
Measure height in three places
Measure from the top of the finished curb, or finished floor if there is no curb, to the point where the glass will stop. That could be the underside of a soffit, a tile termination, or an open top if the enclosure does not go to the ceiling.
Take height at the left, center, and right. If one side is lower because of tile cuts or a sloped ceiling, that matters.
People tend to assume shower openings are square because the tile lines look straight. Sometimes they are. Plenty are not.
Find and mark the centerline
If your enclosure type needs a centerline, slow down here.
Measure the full span between the finished surfaces, divide it by two, and mark that midpoint on the curb with masking tape. If there is a return panel, header, or ceiling reference, transfer the mark upward and confirm it lines up vertically with your level.
This step matters most for:
One door and one fixed panel layouts
90 degree corner showers
Neo angle enclosures
For a door and panel layout, you may also want the distance from the centerline to each wall or return. That helps show whether the door is truly centered and how much room the fixed panel has.
It feels a little fussy at first. It is worth it. A quote based on a vague “about half and half” opening is not much of a quote.
Measure the curb carefully
The curb is where a lot of good-looking designs become bad installs.
Measure the horizontal top surface where the glass or track will sit. Then measure the full curb depth from the exterior finished face to the interior face or lip. Note the curb height too, especially if you are comparing framed shower doors with frameless shower doors.
You should also note what kind of curb you have:
Flat tiled curb
Curved or rounded tile edge
Prefabricated shower base curb
Tile-in throat or interior lip
Why this matters is simple. Hinged doors need room for sweeps and strikes. Sliding glass shower doors need enough width for track placement and proper roller clearance. Some base clamps and channels need more landing space than people expect.
If the curb slopes sharply inward or outward, write that down too.
Check each wall for plumb and flatness
This is the part most people skip. It is also the part that explains why one side of a future glass door might have a different gap than the other.
Place a 4 foot level or long straightedge vertically against the wall. Check the gap between the wall and the level at several heights. If the level touches at the bottom but leaves a quarter inch gap at the top, the wall is leaning.
Record the biggest variation you find. For example, you might note:
Left wall out of plumb by 1/4 inch at top
Right wall bowed 1/8 inch at center
Do the same on wider wall areas where a fixed panel may mount. A wall can be roughly plumb but still bow in the middle. That can affect channels, clamps, and silicone lines on custom glass installations.
If you are working with frameless glass, these notes are very useful. If you are working with framed systems, they still matter, just a bit less.
Take the extra measurements that match your enclosure type
Once the opening is measured, get the details that are specific to the design you want.
Piano hinge, pivot, or swing door layouts
For piano hinge doors, pivot shower doors, and other swing shower doors, measure the full opening width and height, then note the hinge side. Left-hand and right-hand swing are easy to mix up in writing, so include a photo and mark the swing direction on a quick sketch.
Also check the swing path. Will the door hit a toilet, vanity, towel bar, or radiator? Will it clear the shower head and trim? People often focus on the opening and forget the room around it.
If the door may hinge from a wall, note the wall condition. If it may hinge from glass, note the size and location of the fixed panel beside it.
Door and panel enclosures
A single door with one fixed panel is common and deceptively tricky. The centerline matters here. Measure the opening, mark the centerline, and record distances from that centerline to the surrounding finished surfaces.
Also note where you expect the hinge to mount. Off the wall and off the panel are not the same thing. They can change the glass layout and hardware choices.
Sliding enclosures
For sliding glass shower doors, the curb and sill details matter almost as much as the opening width.
Measure the width top, middle, and bottom, then measure the sill depth carefully. Note whether this is a tub application or a walk-in shower, and whether the planned system is framed, semi-frameless, or more minimal.
If there is a top header, bulkhead, or low ceiling, photograph it. Some systems need very specific mounting conditions.
90 degree corner showers
For a true corner unit, measure both legs from the inside corner to the point where the glass will end. Then verify the corner itself. It may look like 90 degrees and still be slightly off.
A carpenter’s square helps here. If the corner is noticeably open or tight, write that down. Those little angle errors can affect door sizing and how two panels meet.
Neo angle enclosures
Neo angle work needs patience. Measure each return and the diagonal opening where the door will sit. Mark the centerline for the door if that is part of the design, and take photos from above if possible.
This is one of those layouts where rough measurements help with budgeting, but professional templating is usually the smart move before anything is cut.
Steam room glass
If the project includes steam room glass, record more than the basic opening. Note ceiling height, any transom or operable vent, and how tightly the enclosure needs to close. Steam setups often have more exacting details around seals, clearances, and hardware placement.
Check for interference before someone else does
A quote is more useful when it accounts for real conditions, not just the size of the hole in the wall.
Look for anything that may interfere with glass or door movement:
Towel bars
Vanities
Toilets
Shower controls
Niches
Benches
Baseboards or trim near the opening
Uneven tile edges
Protruding stone caps
For hinged doors, confirm there is enough room for the swing and enough curb area for the bottom sweep or strike. For sliding doors, confirm there is room for the track and that nearby fixtures will not block the moving panel.
How to record everything so your quote is useful
The best measurement package is not fancy. It is clear.
Make a simple sketch of the shower from above and from the front. Label each wall. Mark the width and height measurements, the centerline, curb depth, and any out-of-plumb notes. Use arrows so nobody has to guess what your numbers mean.
Send both the raw measurements and the variation notes. “Opening is 36 inches” is incomplete. “Top 36 1/8, middle 36, bottom 35 7/8, left wall out of plumb 1/4 at top” is far better.
Photos help even more if you mark them. A piece of masking tape on the curb with “CL” written on it can save a lot of confusion. So can a close-up photo of a narrow curb or a rounded tile edge.
Also say which measurements are rough and which, if any, were site-verified. That distinction matters.
When rough measurements are enough, and when you should book templating
Rough measurements are usually enough to get a budget number and compare design options. They work well when the opening is fairly straightforward and you are still deciding between framed shower doors, sliding systems, or frameless glass.
Bring in professional templating when:
Walls are noticeably out of plumb or bowed
The curb is narrow or irregular
The enclosure has custom angles
The layout is neo angle or multi-panel
The project uses frameless shower doors with tight reveals
The shower is intended as steam room glass
That is not overkill. It is how you avoid glass that looks right on paper and wrong in real life.
A quick checklist you can take into the bathroom
Before you request a quote, make sure you have:
Overall width at top, middle, and bottom
Overall height at left, center, and right
Centerline marks where needed
Distance from centerline to walls or returns
Curb depth and curb height
Notes on curb shape and sill condition
Out-of-plumb notes for each wall
Photos of the opening, curb, and any marked reference points
Notes on the enclosure type you want
Hinge side, swing direction, or sliding track preference if known
Good rough measurements do not need to be perfect. They need to be honest, complete, and easy to follow. If you take your time with widths, centerlines, curb depth, and wall plumb, you give any glass supplier or installer a much better starting point. And you give yourself a much better chance of getting a quote that matches the job you actually have.
Planning a glass project?
Send us a photo and the rough size. We will measure on site and give you a fixed written quote.
Get a Free Quote