





Troubleshooting Frameless Shower Door Leaks: Causes, Fixes, and Prevention
Learn how to diagnose, fix, and prevent frameless shower door leaks with practical guidance on gaps, seals, slopes, and installation. Read more.
A frameless shower door should keep ordinary shower spray inside the enclosure without making the bathroom feel closed in. When water appears on the floor outside the shower, it is tempting to blame the glass or assume the door needs more silicone.
Usually, that is not the real problem.
Leaks around frameless shower doors almost always come down to how the glass, finished walls, hardware, seals, and shower floor work together. Glass is rigid. Tile walls are rarely perfectly plumb. Water follows gravity and takes the easiest available route. A small gap or a barely flat curb can be enough to create a regular puddle.
The good news is that most leak issues are diagnosable. Some need a simple seal adjustment, while others point to a slope or measurement problem that should be corrected at the source.
Why frameless shower doors need precise planning
Frameless shower doors have very little metal framing around the glass. That clean, open look is why many homeowners choose them, but it also means there is less material available to catch and redirect water.
Framed shower doors generally have channels, overlaps, and weep systems that provide a bit more forgiveness. A frameless enclosure relies more heavily on careful glass sizing, properly placed sweeps and seals, an appropriate threshold, and a shower floor that drains correctly.
A small, even operating gap around a frameless door is normal. The door needs clearance to swing or slide without rubbing the walls, curb, or fixed glass panel. Problems start when that gap is unusually wide, inconsistent, or positioned where direct spray can hit it.
For example, a gap that is 3 mm at the bottom and 8 mm at the top is not a seal problem first. It usually indicates that a wall is out of plumb, the opening was measured incorrectly, or the hardware was not selected to accommodate the condition.
The most common reasons shower doors leak
The finished opening was measured incorrectly
The word “finished” matters here. Measurements should be taken after tile, stone, wall panels, grout, waterproofing build-up, and any trim that affects the enclosure opening are complete.
Measuring before tile installation is one of the most common remodel mistakes. A rough framed opening may look straightforward, but tile, mortar, waterproofing membranes, and backerboard can change each side of the opening. Even a modest change can make a custom glass panel too wide, too narrow, or difficult to align.
A door that is too tight may bind or fail to close correctly. A door that is too narrow can leave a gap large enough for splash to escape. Neither issue is solved properly with extra caulk.
Measure the opening in at least three places:
At the top
At the middle
At the bottom
If the numbers vary, the wall condition must be considered before glass is fabricated. This is especially important with custom glass shower doors, where each panel is made to suit a specific opening.
Walls are out of plumb
Tile can look beautifully straight while the wall behind it leans slightly. In a shower enclosure, that slight lean becomes obvious because glass edges are straight and hardware needs consistent clearances.
An out-of-plumb wall often causes a gap that widens or narrows between the top and bottom of the door. The strike-side gap may be too wide at one end for a seal to work well, even though the door appears to close normally.
There are several ways to address this, depending on the layout:
Use hardware with enough adjustment to account for minor wall variation.
Add an appropriately sized clear vinyl seal.
Use a fixed panel or return panel to move the door opening away from the worst wall condition.
Correct the wall before installation when the variation is significant.
Trying to force a square glass door into an opening with noticeably uneven walls is frustrating for everyone. The door may close one day and rub the curb or panel the next after hardware settles.
The curb or threshold does not slope toward the drain
A shower curb should not act like a tiny shelf that holds water against the door. Its top surface needs a slope that sends water back into the shower, toward the drain.
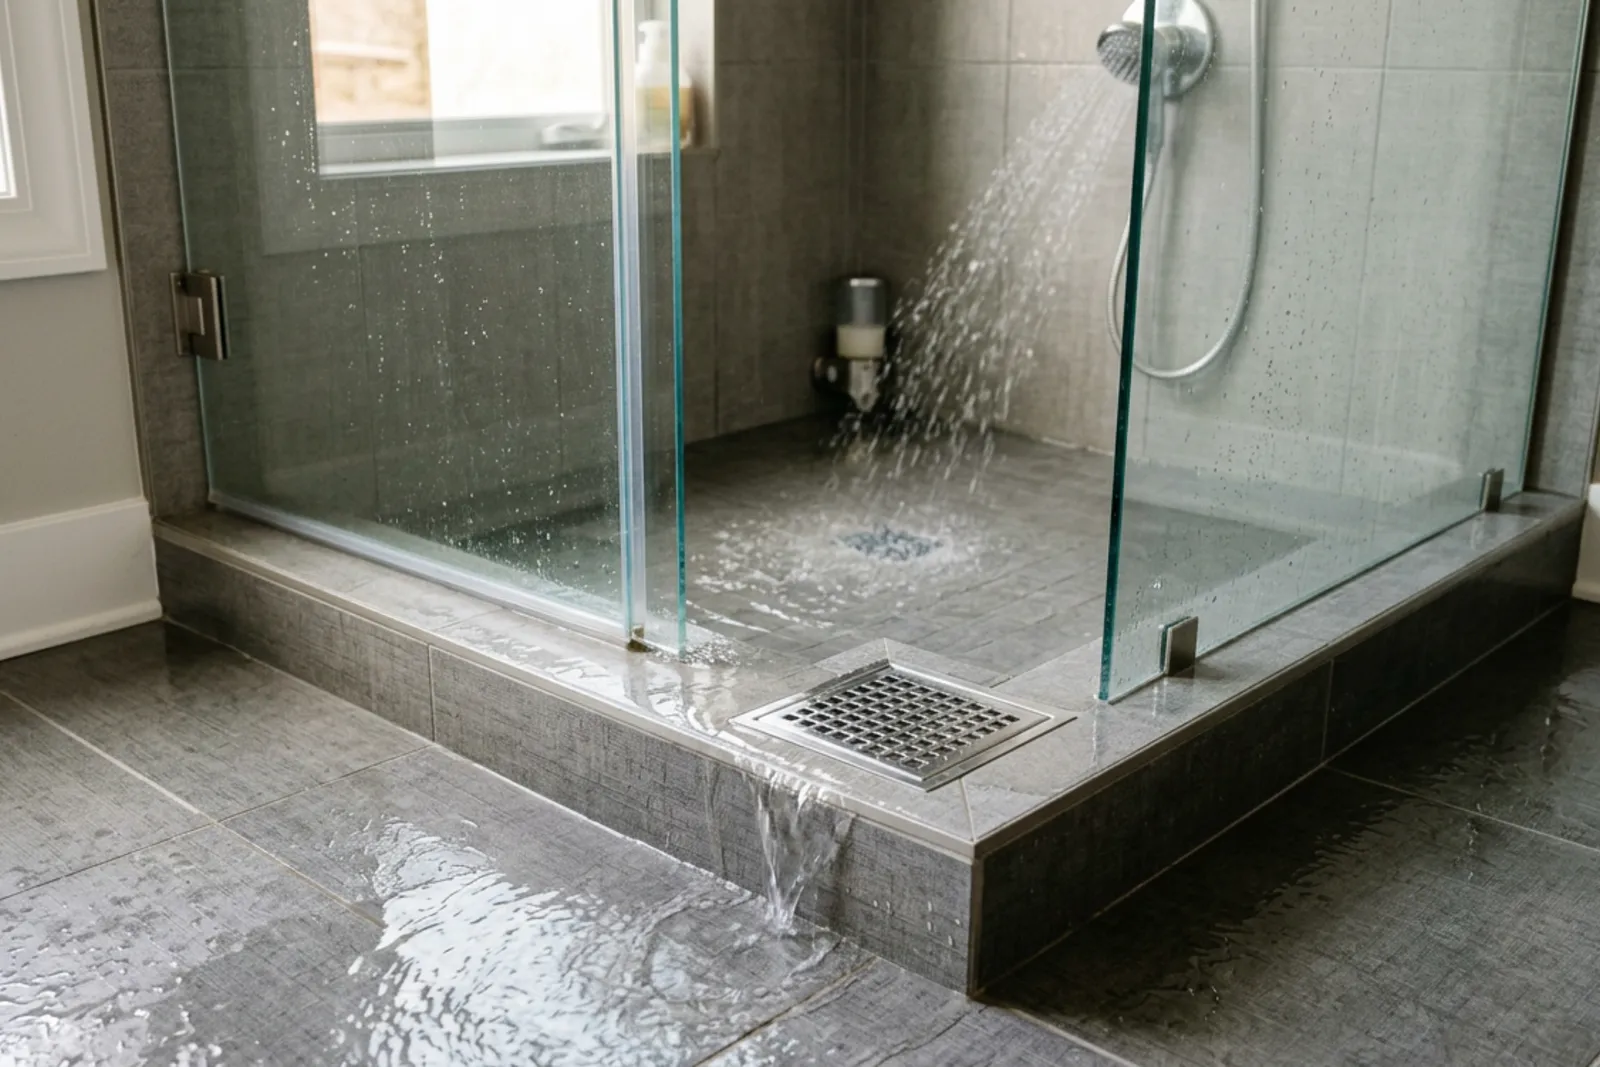
When a curb is flat, slopes outward, or contains low spots, water can pool along the inside edge of the door. Then it finds the smallest gap under a sweep or beside a jamb seal and spills onto the bathroom floor.
This often gets misdiagnosed as a faulty bottom seal. A bottom sweep can reduce minor splash and help bridge the normal clearance between the glass and curb. It cannot overcome water sitting against the opening for the entire duration of a shower.
Check the curb by pouring a small amount of water near the door. Watch where it travels. It should move inward, not rest beside the glass and certainly not run toward the outside edge.
Threshold height matters too. A very low or nearly flush threshold can work in certain well-designed curbless shower enclosures, but the floor slope and drainage details have to be exceptionally well planned. A low threshold paired with poor slope is a recipe for recurring water escape.
The shower floor is draining in the wrong direction
Water should naturally move toward the drain across the full shower floor. If it ponds near the entry or flows toward the door, the issue is beneath the glass.
This is especially common in renovations where the drain location was established during a previous layout. A new shower base or tile pattern may be built around it without fully accounting for where water will collect. If the drain is off-center, the floor still needs deliberate slope from every area toward that point.
Signs of a drainage issue include:
Water remaining on the floor after the shower stops
A puddle along the door opening
Water moving toward the bathroom before it reaches the drain
A leak that happens even when the shower door remains closed and seals appear intact
A simple test can reveal a lot. Pour water from a cup in several areas of the shower, especially near the opening, and watch its path. If it does not head reliably toward the drain, changing door seals will only mask the problem temporarily.
The shower head sprays directly at the opening
A shower enclosure can have excellent measurements and still leak if the shower head regularly directs a high-pressure stream toward the door gap.
This is common in wide walk-in layouts, showers with minimal glass, and enclosures where a swing door is located directly opposite the shower head. Hand showers add another variable because they can be aimed almost anywhere.
Before assuming the enclosure is defective, test the shower with the spray directed away from the opening. If the leak disappears, water management is the issue.
Possible solutions include repositioning or adjusting the shower head, using a lower-flow spray setting, adding a fixed glass panel, or changing the enclosure configuration. A fixed panel can create a splash zone and reduce the amount of water that reaches the door seam.
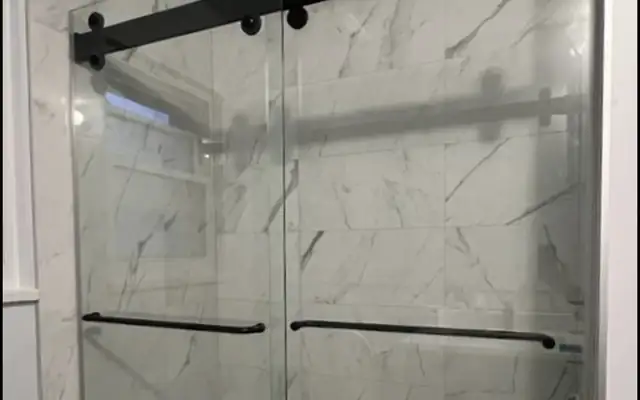
For some bathrooms, sliding glass shower doors make more sense because their overlapping panels provide different water containment than a single swing door. In other spaces, pivot shower doors can place the pivot point and opening in a more useful location. The best option depends on the shower layout, not simply what looks best in a showroom photo.
Seals are missing, misplaced, or cut too short
Clear seals are easy to overlook because they are meant to disappear visually. Yet they do a large share of the practical work in many frameless systems.
Depending on the design, seals may be installed along the strike edge, hinge edge, bottom of the door, fixed-panel intersection, or vertical meeting point between sliding panels. Each seal shape has a purpose. A bulb seal, U-channel seal, drip rail, and bottom sweep are not interchangeable.
Common seal problems include a bottom sweep that ends short of the glass edge, a strike-side seal installed backward, or a hinge-side seal that prevents the door from operating freely. A seal can also become cloudy, brittle, warped, or loose with age.
Replace worn seals with profiles designed for the specific glass thickness and door configuration. Cutting should be careful and precise. A seal that is too long may buckle and interfere with closing. One that is too short leaves a direct path for water.
Silicone can seal stationary glass-to-wall or glass-to-floor joints when applied properly. It should not be used to glue a door shut, fill required operating gaps, or compensate for a badly fitted enclosure.
Hardware and wall support can affect water control
Leaks are sometimes the first visible symptom of a shifting door. If hinges loosen or backing behind the tile is inadequate, the door can sag slightly over time. That movement changes gaps around the glass and may create a new path for water.
Hinges, clips, support bars, and headers need secure attachment to suitable structure. Tile alone is not a reliable mounting surface for a heavy glass door. Solid backing or properly located studs should be planned before walls are closed.
Pay attention to door movement during routine use. A door should open and close smoothly without scraping, dropping, or needing to be lifted to latch. If the door’s alignment has changed since installation, have the hardware inspected rather than tightening random screws. Glass hardware is adjustable within limits, but careless adjustment can damage the glass or create stress points.
Glass thickness also needs to match the hardware and configuration. A larger or heavier swing door may require stronger hinges, a support bar, or a different design altogether.
A practical pre-installation checklist
Most shower leaks can be prevented before the glass is ordered. The following checks are worth completing after finishes are in place and before final fabrication:
Measure the finished opening at the top, middle, and bottom. Record all measurements rather than relying on one number.
Check both walls for plumb using a long level. Small variation may be manageable. Larger variation should influence the glass and hardware plan.
Test the shower floor and curb with water. Confirm that water heads to the drain and that the curb slopes inward.
Verify the drain location works with the shower base or tile slope. A drain that sits in the wrong relationship to the base can cause ponding near the doorway.
Confirm backing locations for hinges, clips, and support bars before drilling into finished tile.
Check the door swing in the actual bathroom. A swing shower door needs clearance from toilets, vanities, towel bars, and people moving through the room.
Consider where the shower spray will land. This is a design detail, not an afterthought.
Choosing an enclosure layout that controls water
The door style affects more than appearance. It changes where gaps occur, how people enter the shower, and how water is contained.
Swing shower doors work well when there is enough bathroom clearance and the shower head is not aimed toward the latch side. They have a clean look and wide entry, but their required operating gaps need thoughtful seal placement.
Pivot shower doors can be useful when a door needs to rotate around a point that is not at the very edge of the glass. Depending on the hardware, some pivots allow part of the door to swing inward and part outward. This can help with circulation, though it also needs careful planning around fixtures.
Sliding glass shower doors are often practical in tighter bathrooms because they do not swing into the room. Their tracks or header systems also create a different approach to water containment. They are not automatically leak-proof, but they can suit a layout where a swing door would be awkward.
A fixed panel paired with a smaller door is often one of the most reliable designs for a wide shower. It limits the size of the moving glass, reduces direct spray near the opening, and provides flexibility when one wall is not perfectly plumb.
When a simple repair is enough, and when it is not
A minor leak may need only a replacement sweep, a cleaned drain, or a small hardware adjustment. Start there if the enclosure previously worked well and the issue appeared gradually.
A leak that existed from the first shower deserves a more thorough assessment. Look at the water path, gap consistency, curb slope, drain behavior, and shower-head direction. If the shower floor sends water toward the door, or the opening dimensions are wrong, replacing seals over and over will waste time.
The same principle applies to silicone. It has a valid role around fixed glass joints, but it is not a universal repair material. If water is being pushed through a wide gap by direct spray or flowing outward because of poor slope, silicone will not change the underlying geometry.
The bottom line
Frameless shower doors do not need to leak. They do, however, demand accuracy. The enclosure must suit the finished opening, the walls need to be evaluated for plumb, the hardware needs solid support, and the shower base must guide water to the drain.
When troubleshooting, follow the water rather than focusing only on the glass. Check where spray hits, where water pools, and where gaps change. That approach usually reveals whether the answer is a new seal, a hardware adjustment, a different shower-head angle, or a larger correction to the curb or floor.
Good water control starts long before glass installation. It starts with the finished walls, the drain, the slope, and a shower enclosure layout that respects how the bathroom will actually be used.
Planning a glass project?
Send us a photo and the rough size. We will measure on site and give you a fixed written quote.
Get a Free Quote